Access Level
When uploading files to S3 bucket, we have 3 levels of access: public, protected and private:
- Public: Accessible by all users of your app. Files are stored under the public/ path in your S3 bucket.
- Protected: Readable by all users, but writable only by the creating user. Files are stored under protected/{user_identity_id}/ where the user_identity_id corresponds to the unique Amazon Cognito Identity ID for that user.
- Private: Only accessible for the individual user. Files are stored under private/{user_identity_id}/ where the user_identity_id corresponds to the unique Amazon Cognito Identity ID for that user.
In this section we will change the user permission to upload files to S3.
-
Open Cognito console
-
Select Federated Identities on the left menu. Then select fcjdms…identitypool…
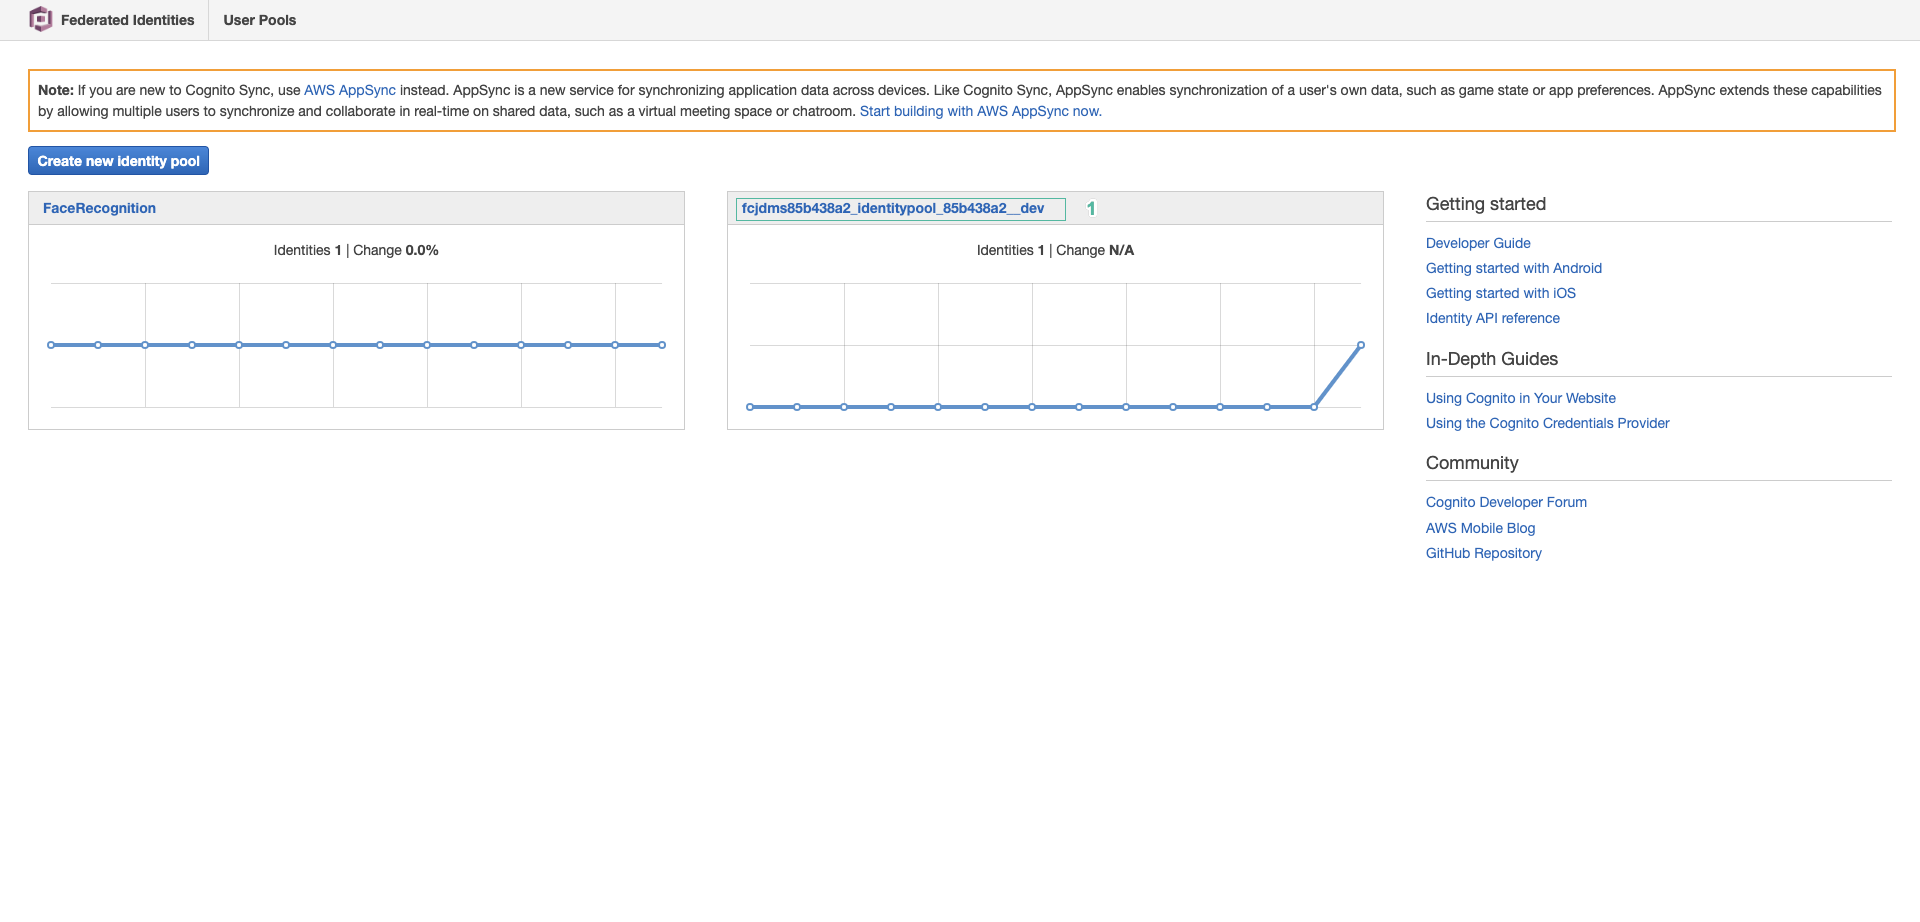
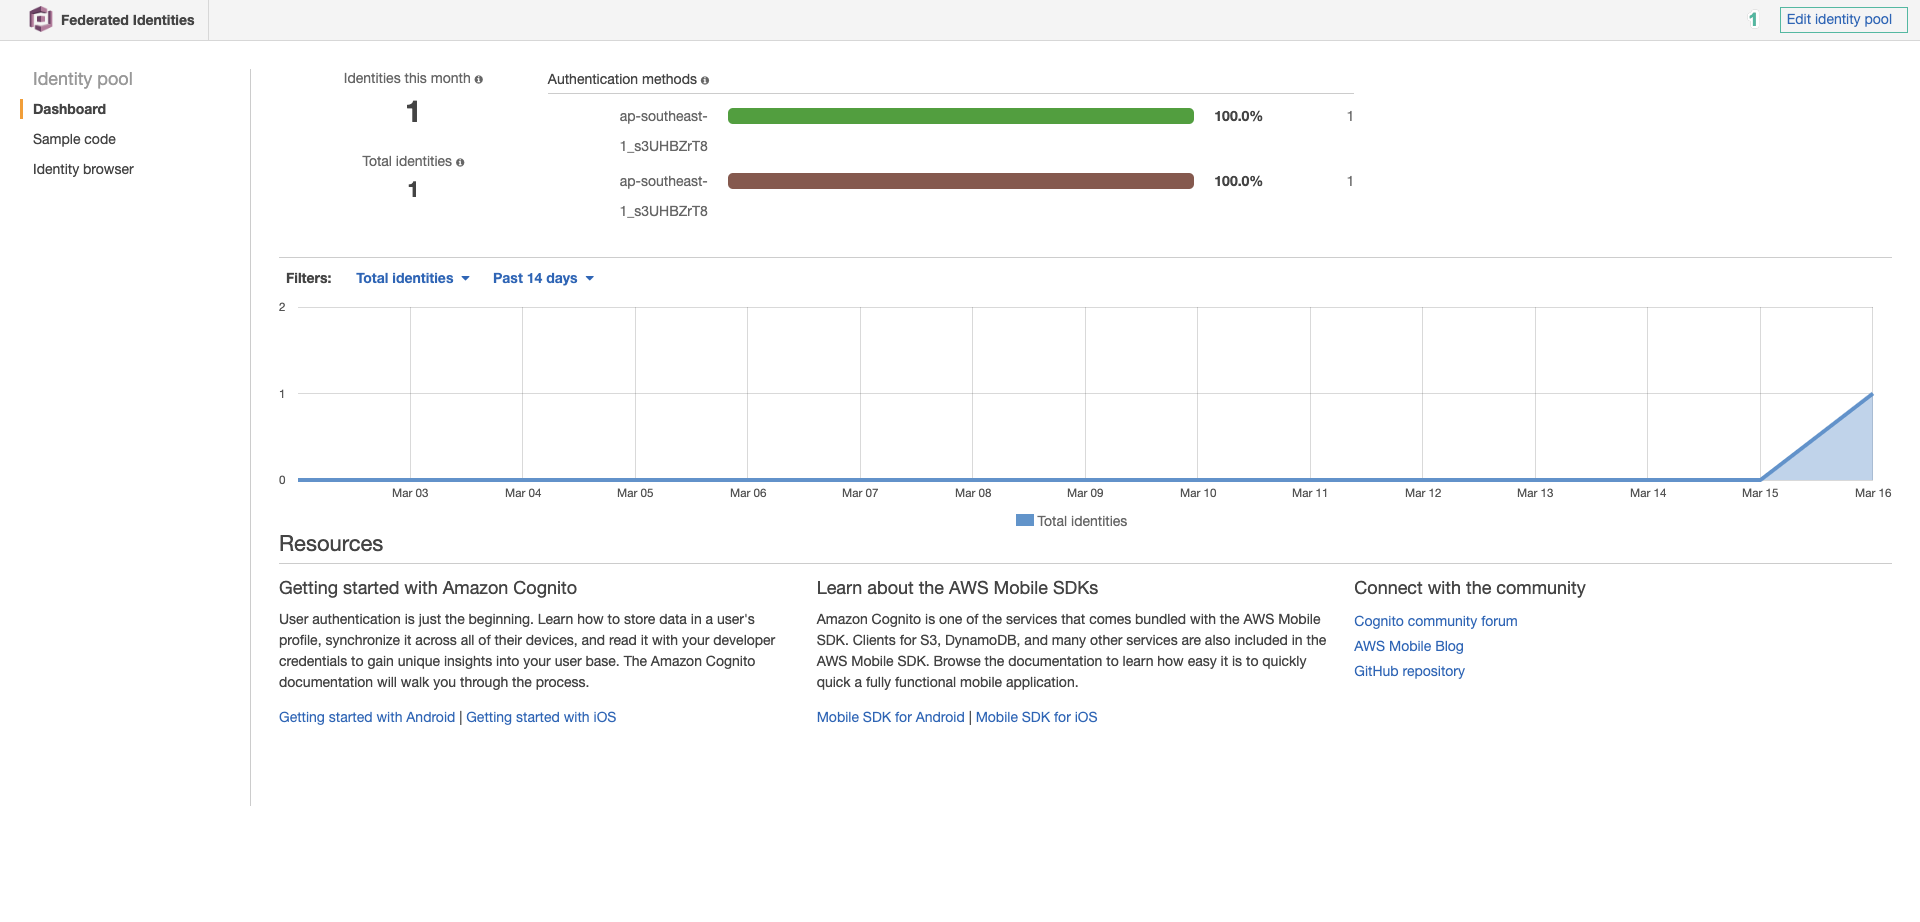
- Click Edit identity pool
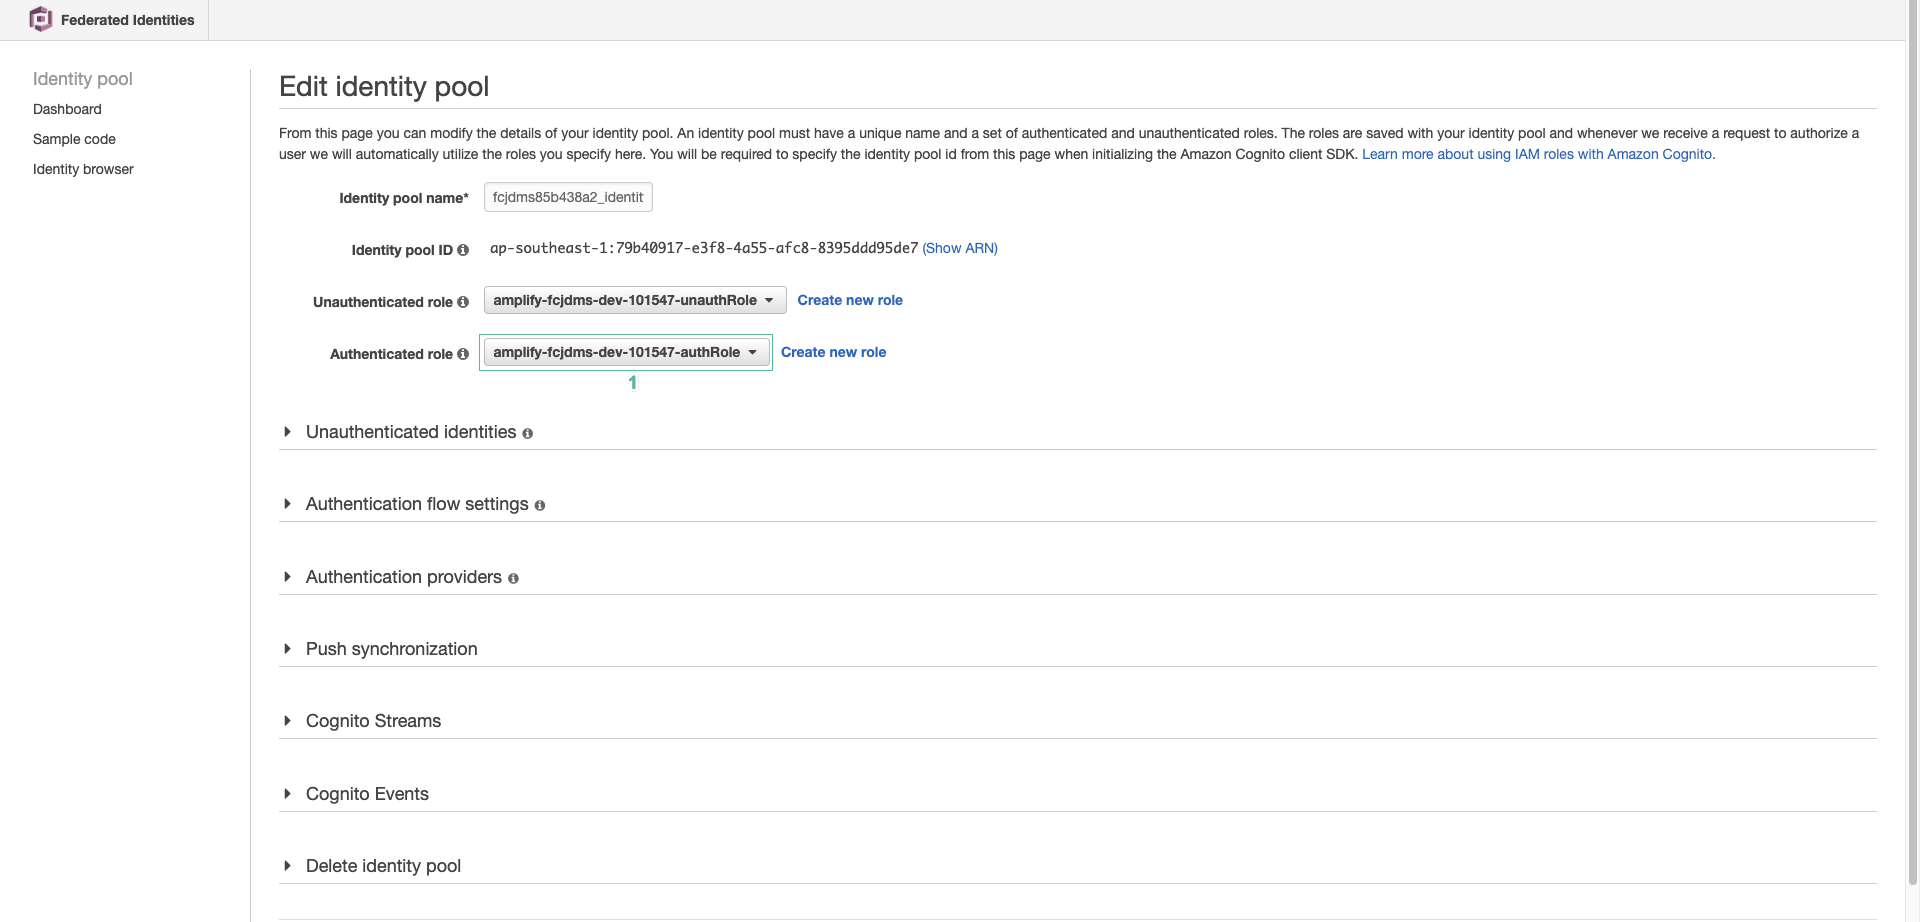
- Note down the name of the Authenticated role
- Open IAM console
- Select Roles on the left menu
- Enter name of Authenticated role and click to searched role

- Expand policies to view user permissions
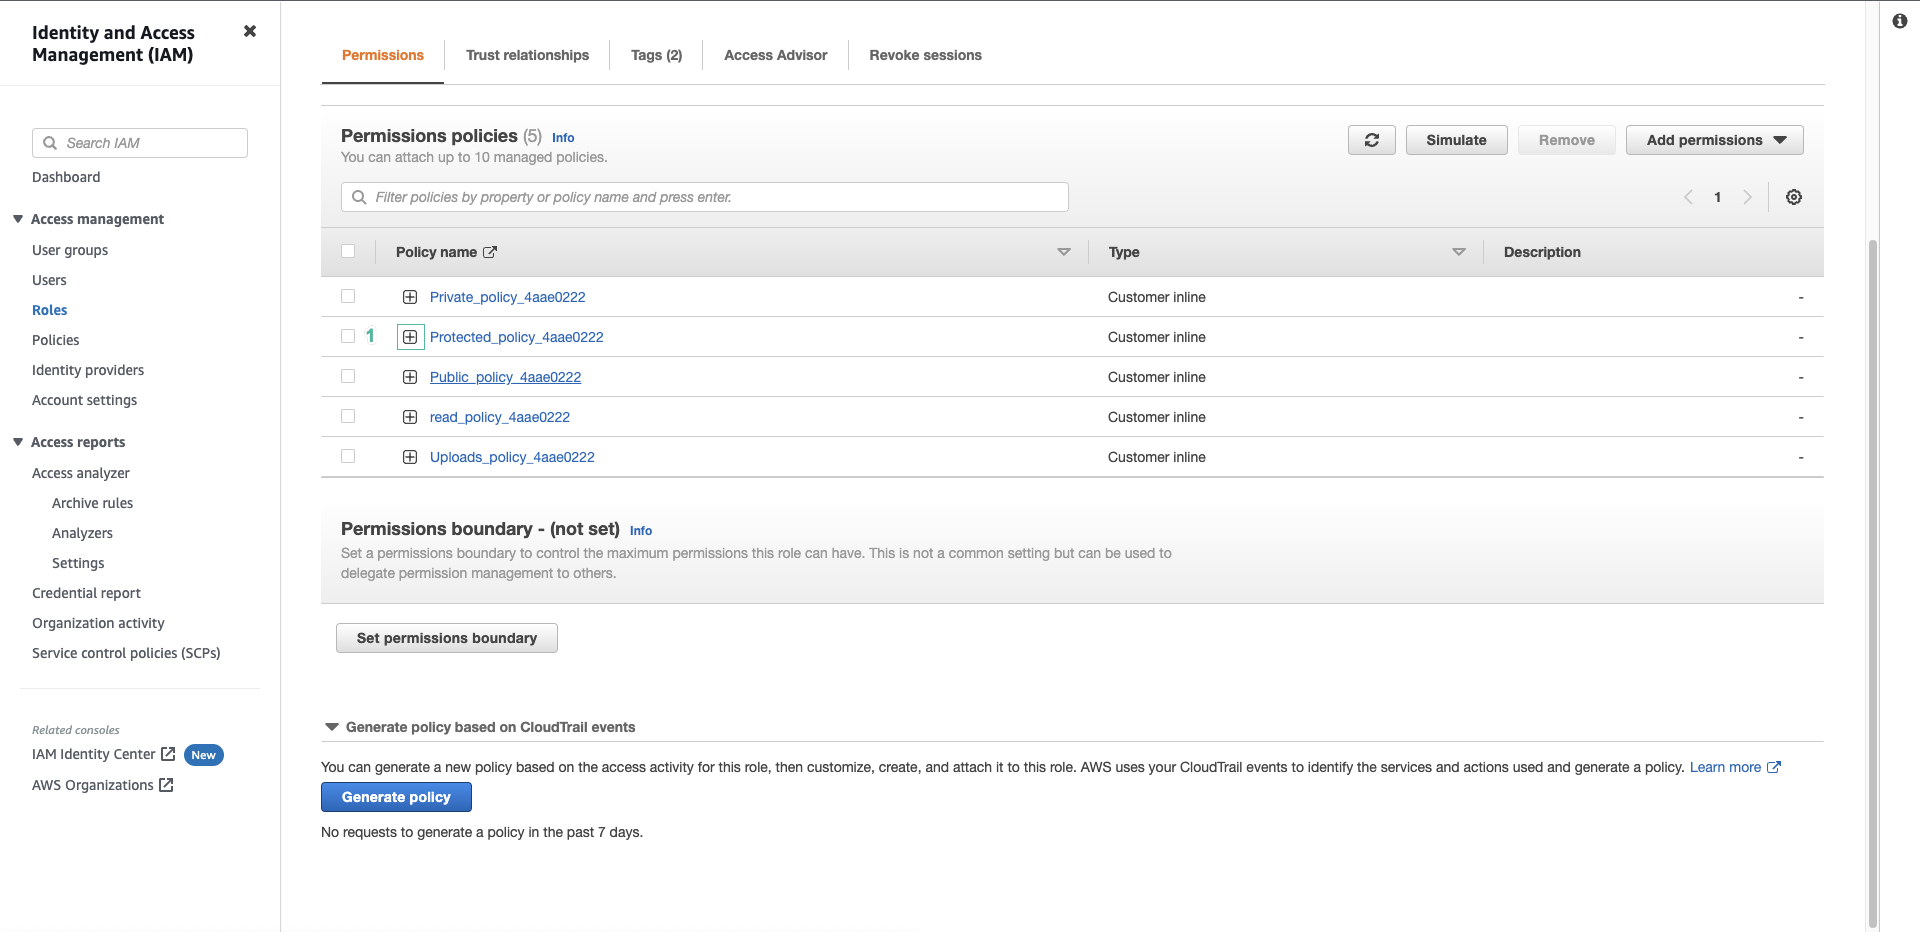
You can see the permission to add, remove and get objects in the S3 bucket for the identity_id folder in the protected folder
- Select Protected_policy_… policy
- Click Remove
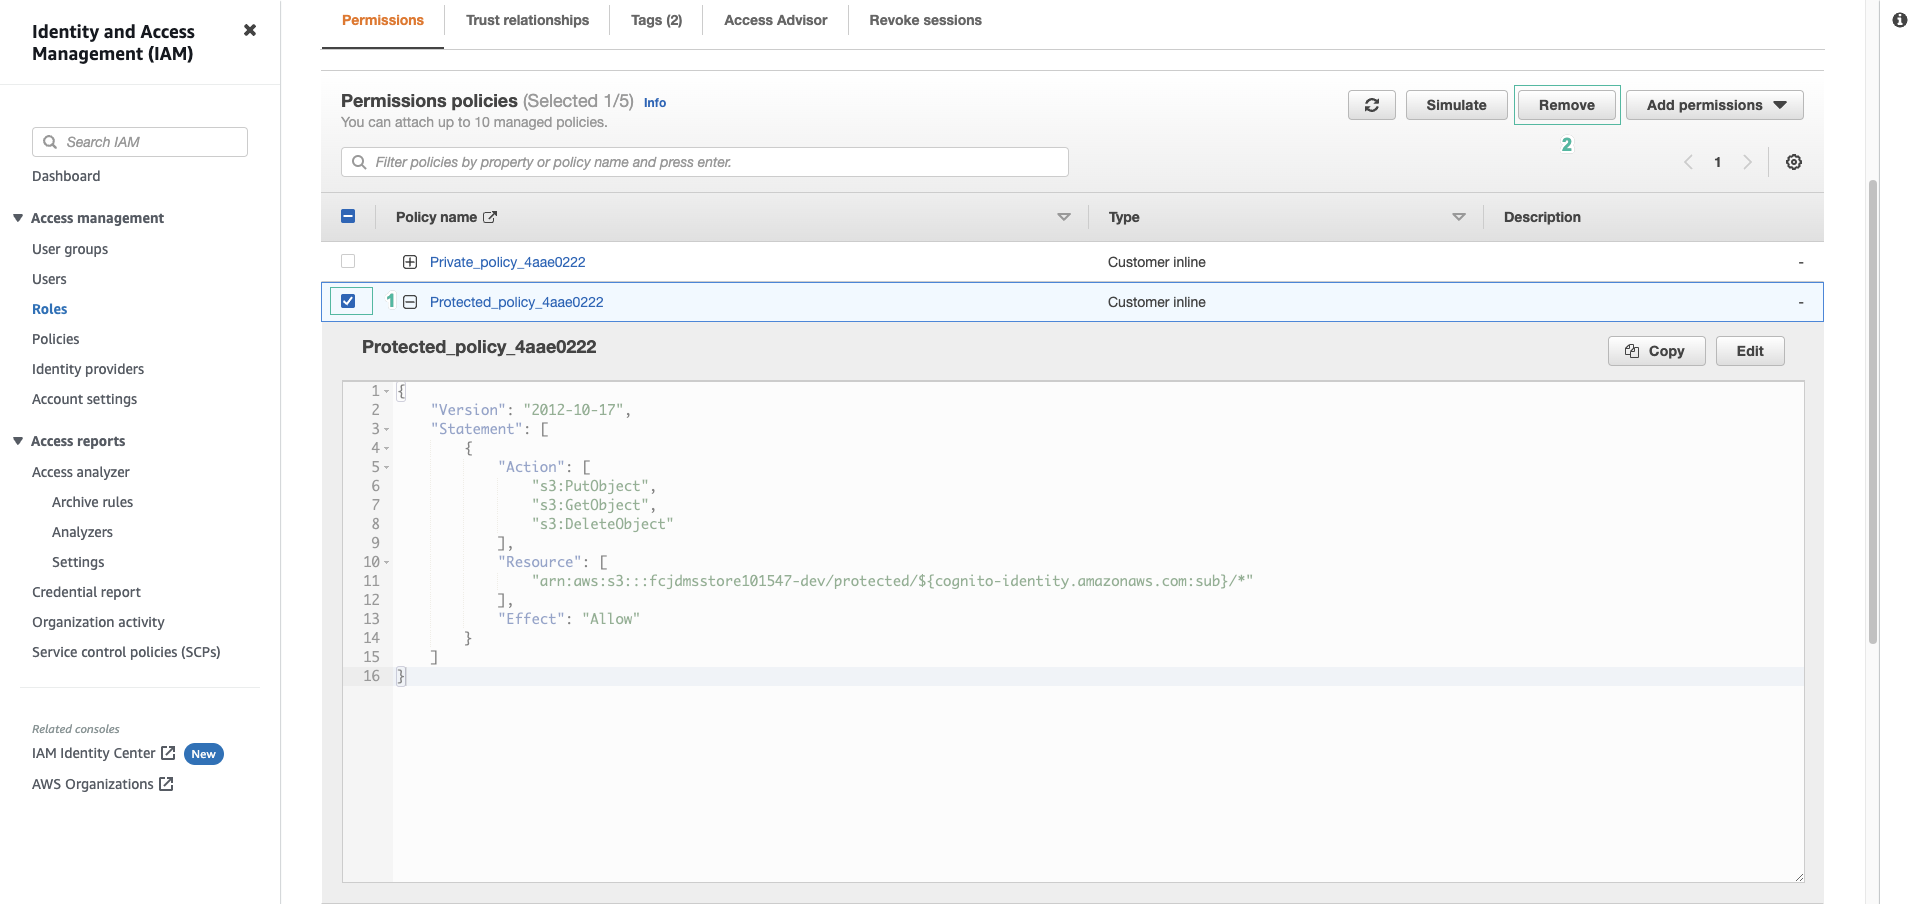
We will remove the access level permission protected because the application is using that level.
- Enter policy name and click Delete

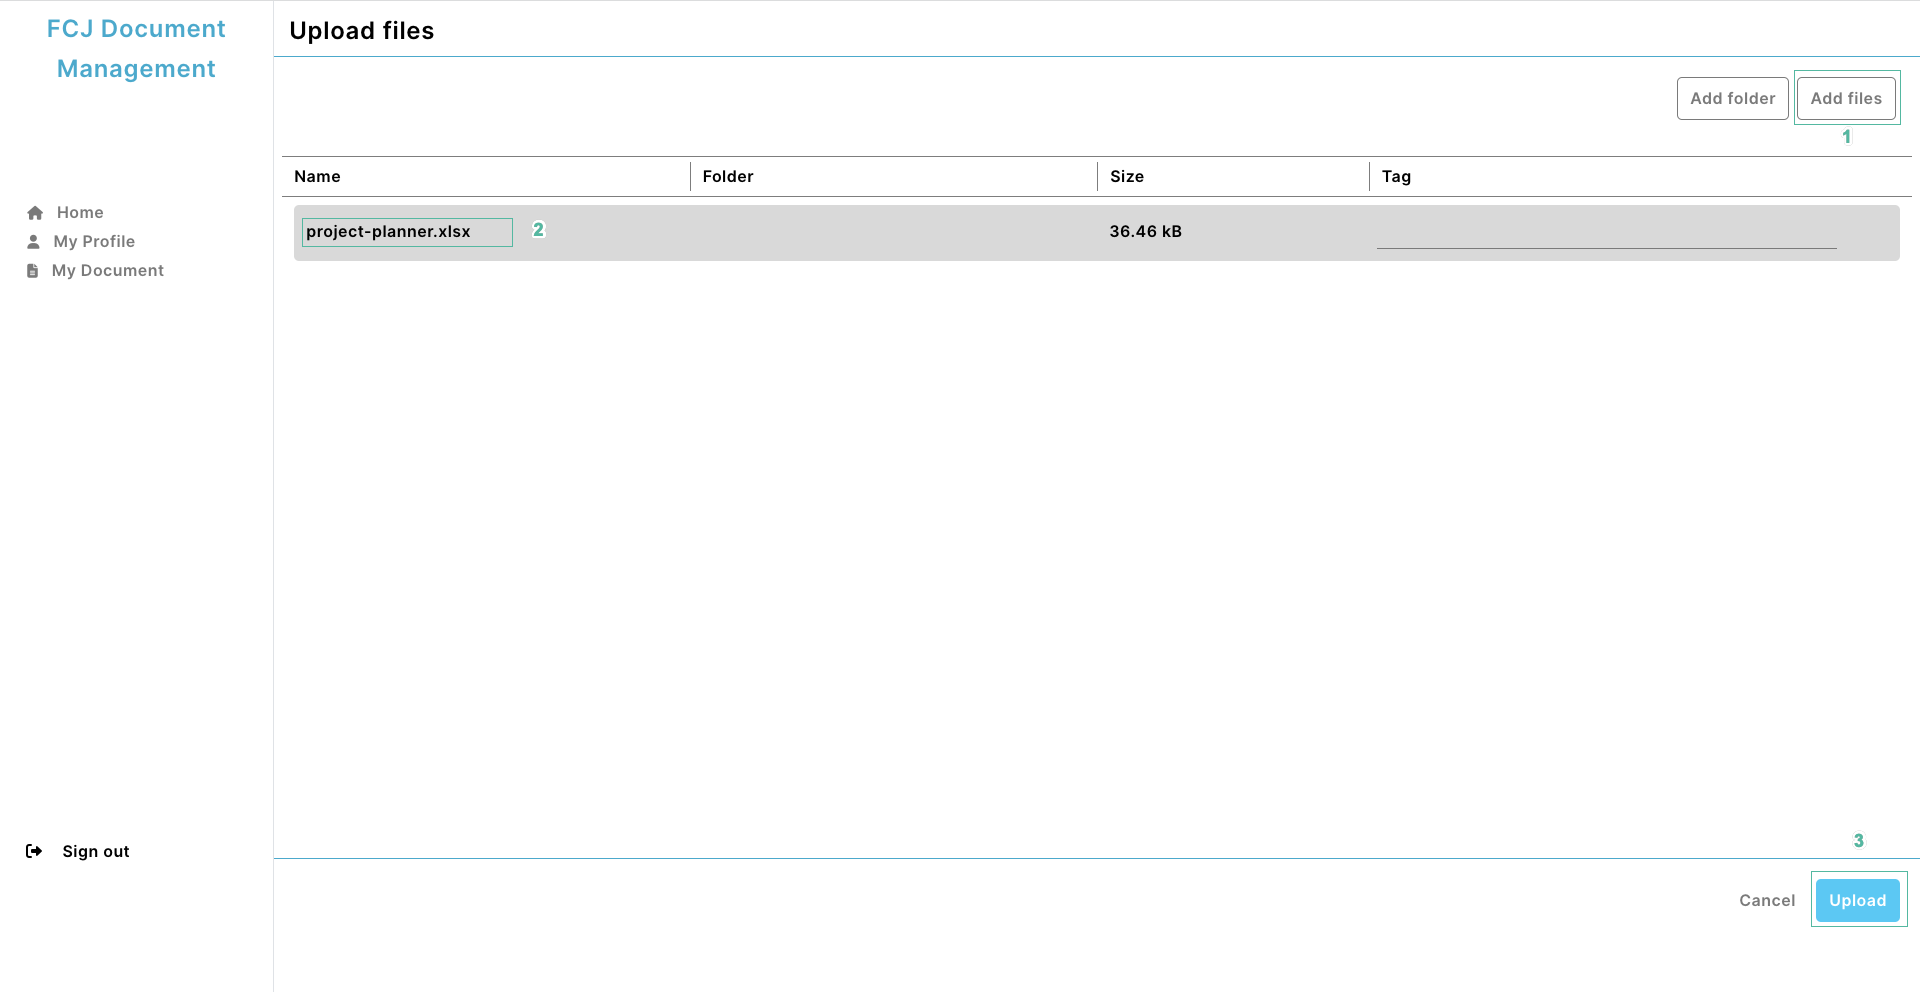
- You have successfully removed.
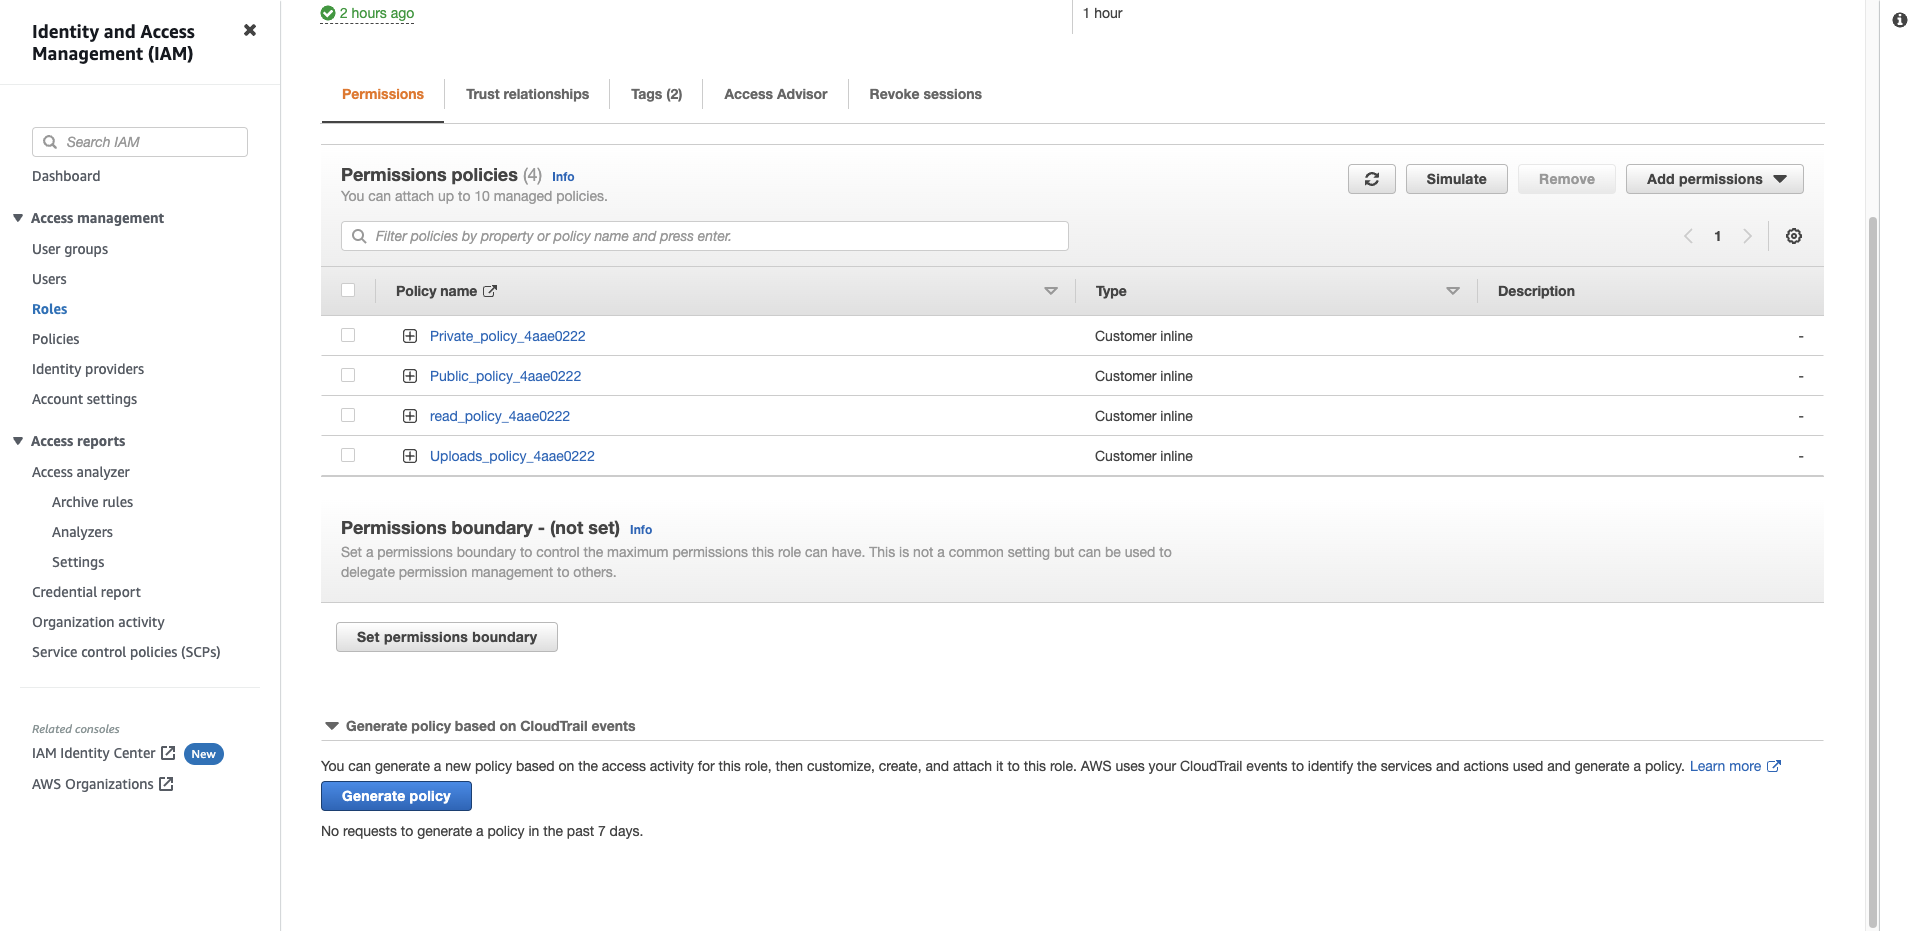
- Back in the application, click Add files and select the file you want to upload. Then click Upload
- The screen still says success, but you should see the error in Inspect | Console mode. They received an Access Denied error.

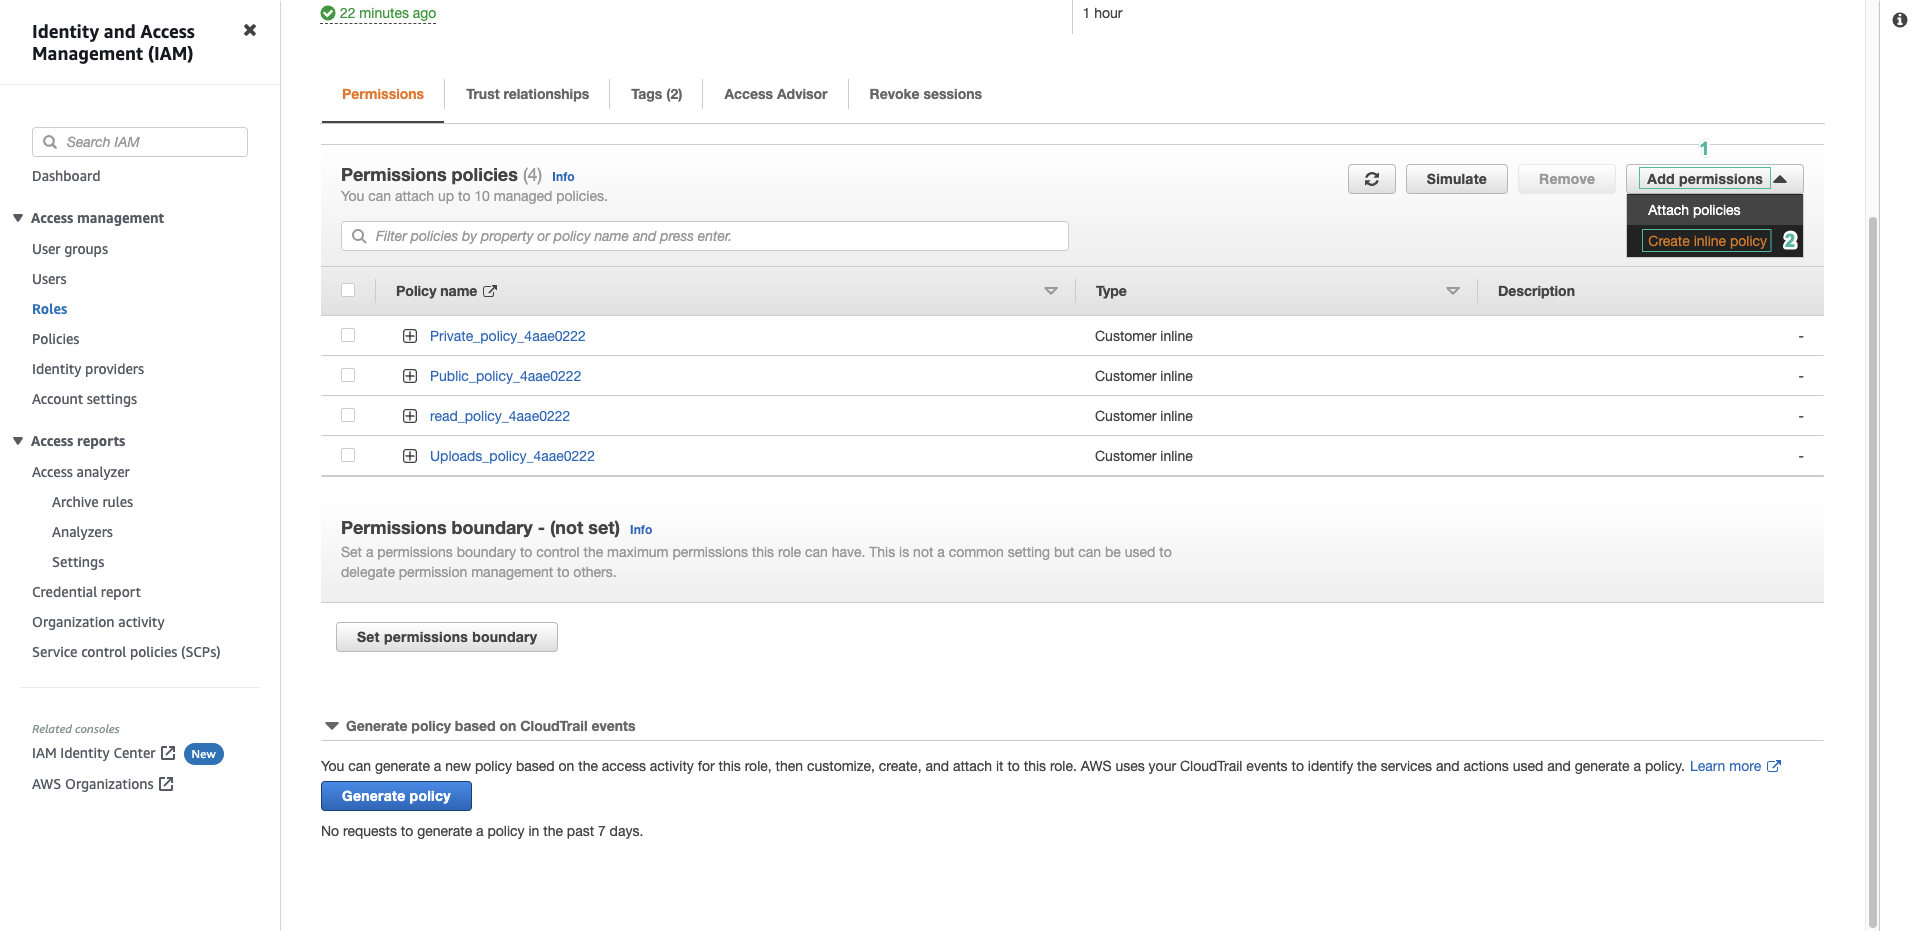
- Re-add permissions for the user.
- Click Add permissions
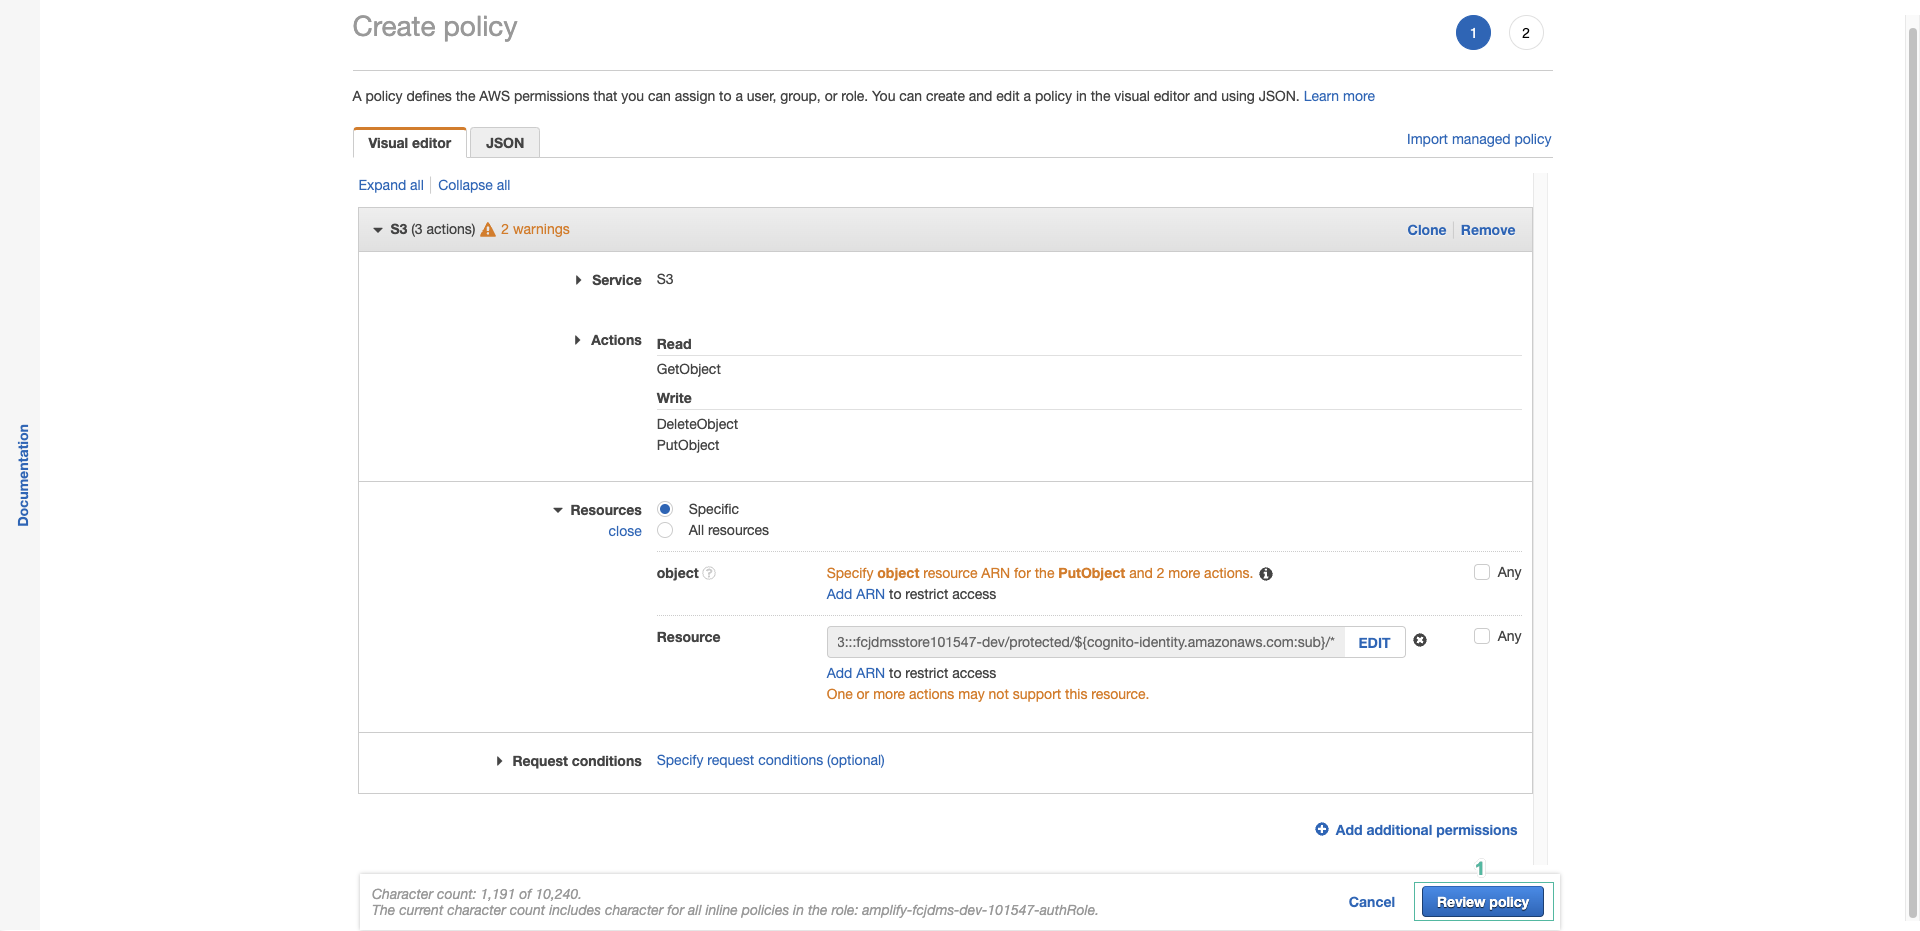
- Select Create inline policy
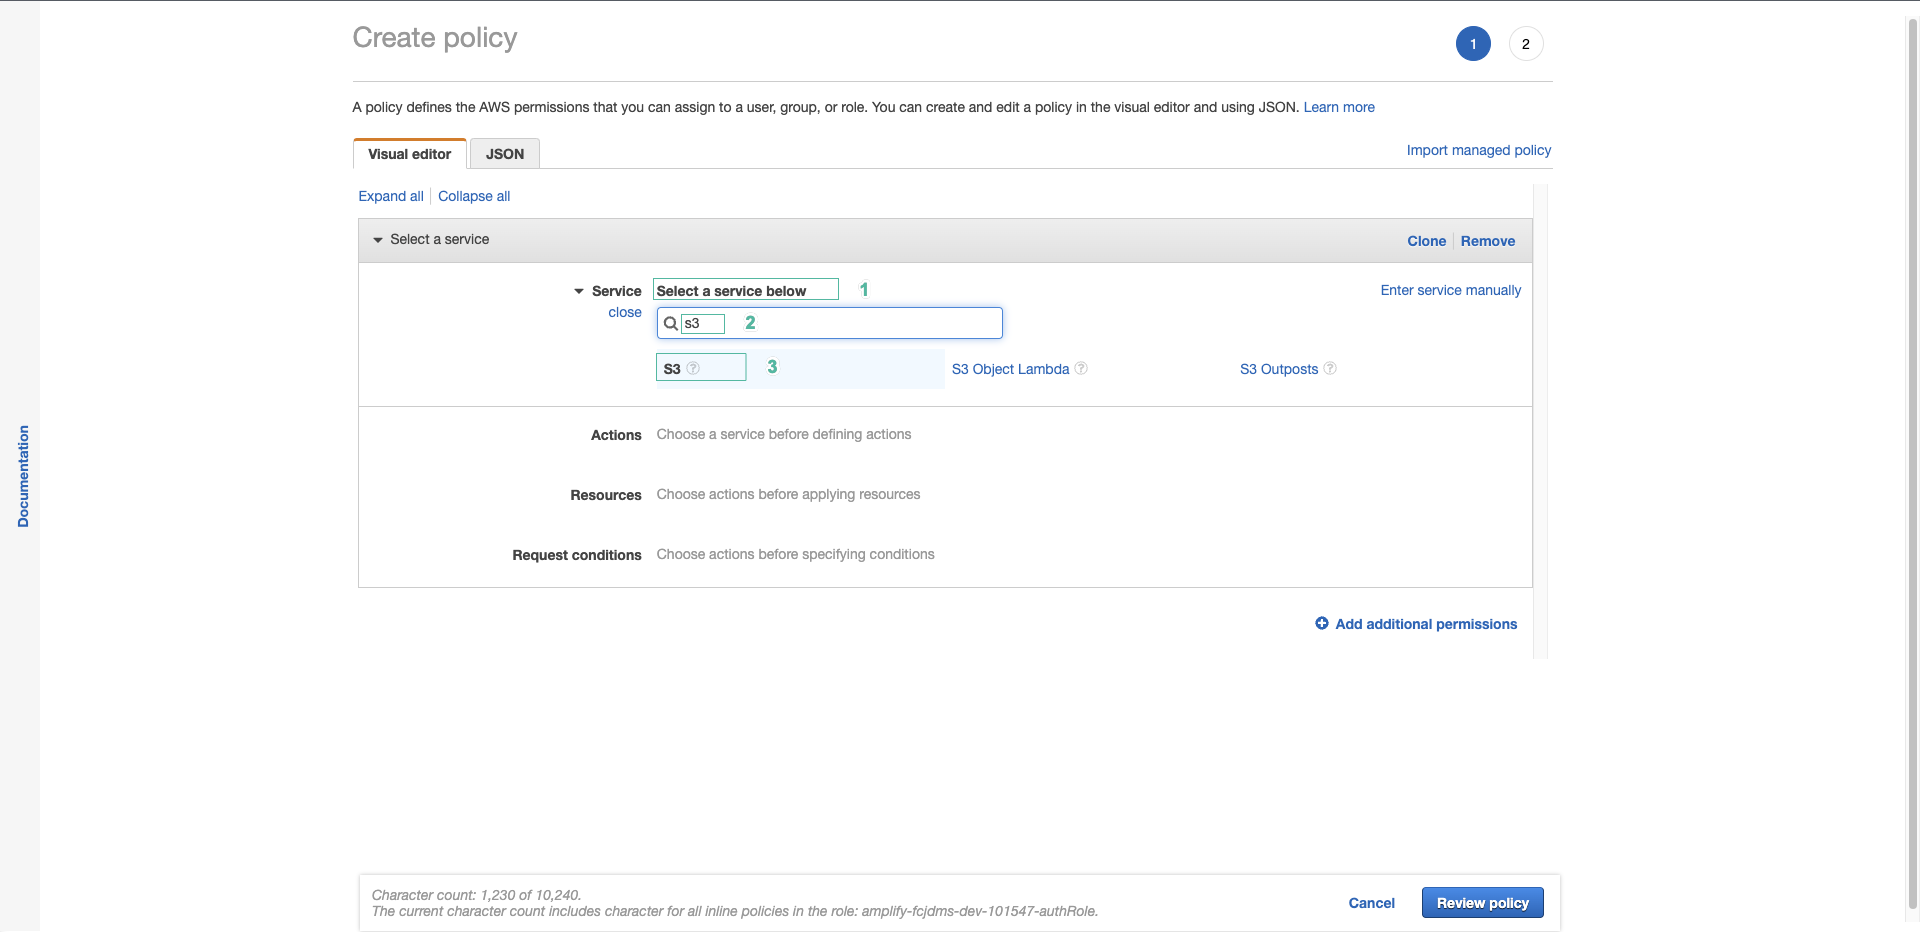
- Select S3 for service
- In Actions | Read section, select GetObject
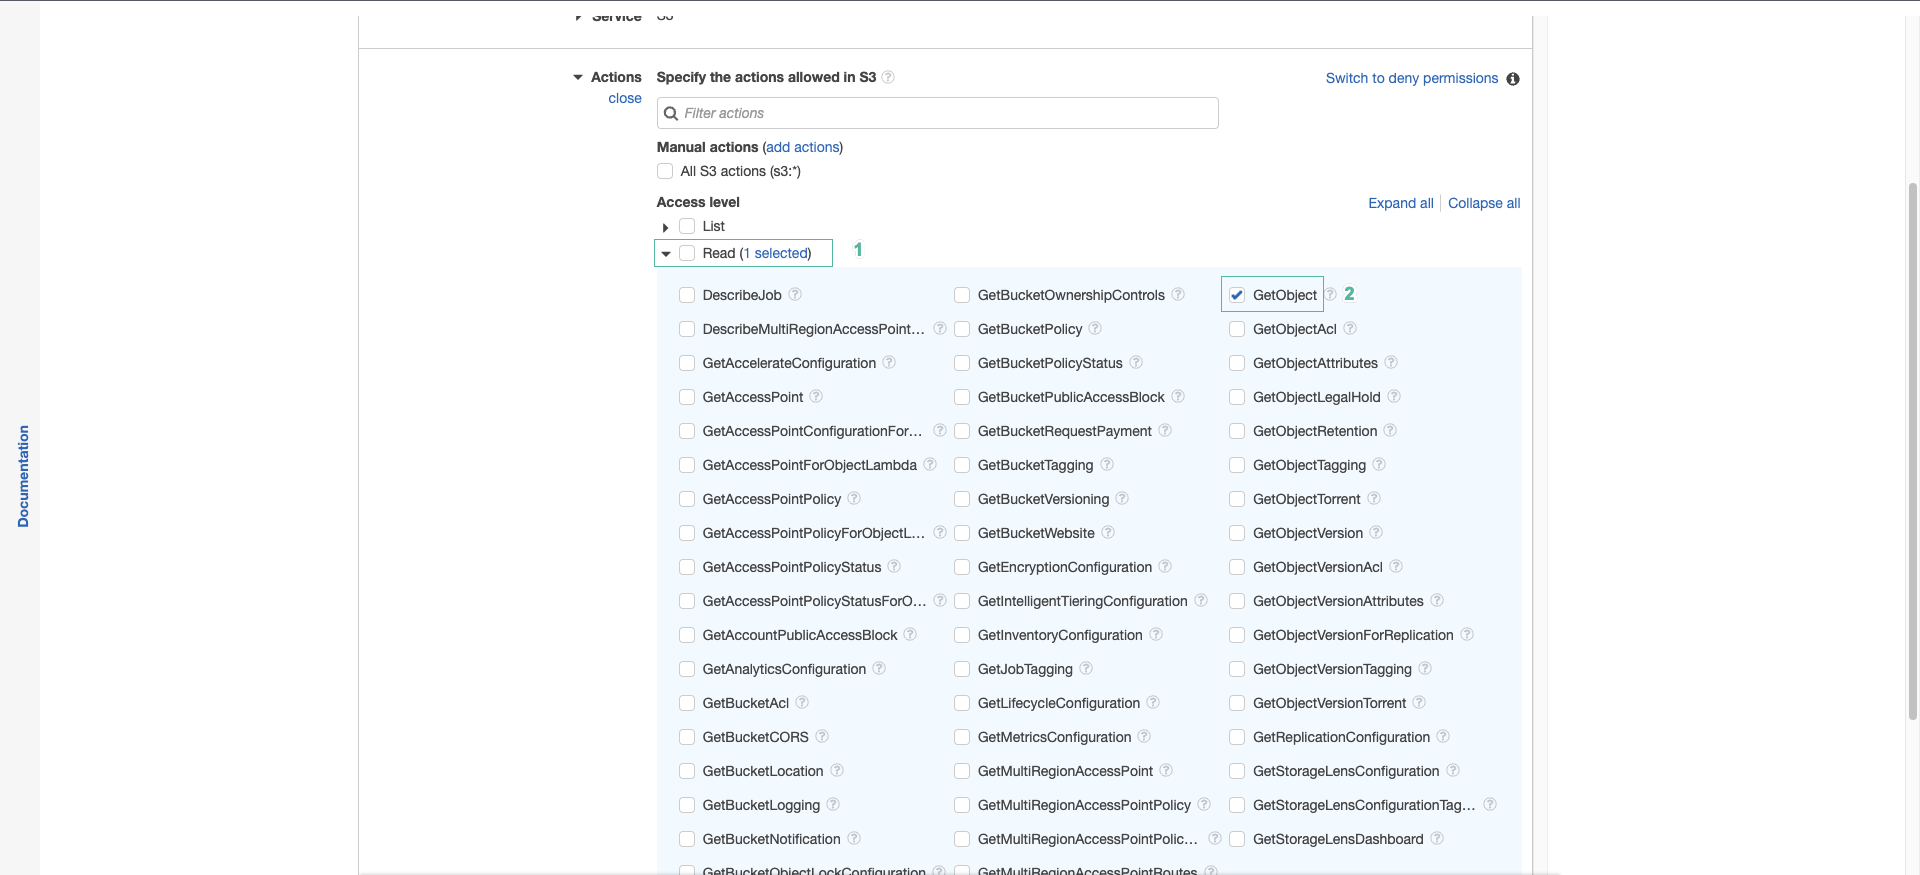
- In Actions | Write section, select PutObject and DeleteObject

- In Resources secttion, click Add ARN
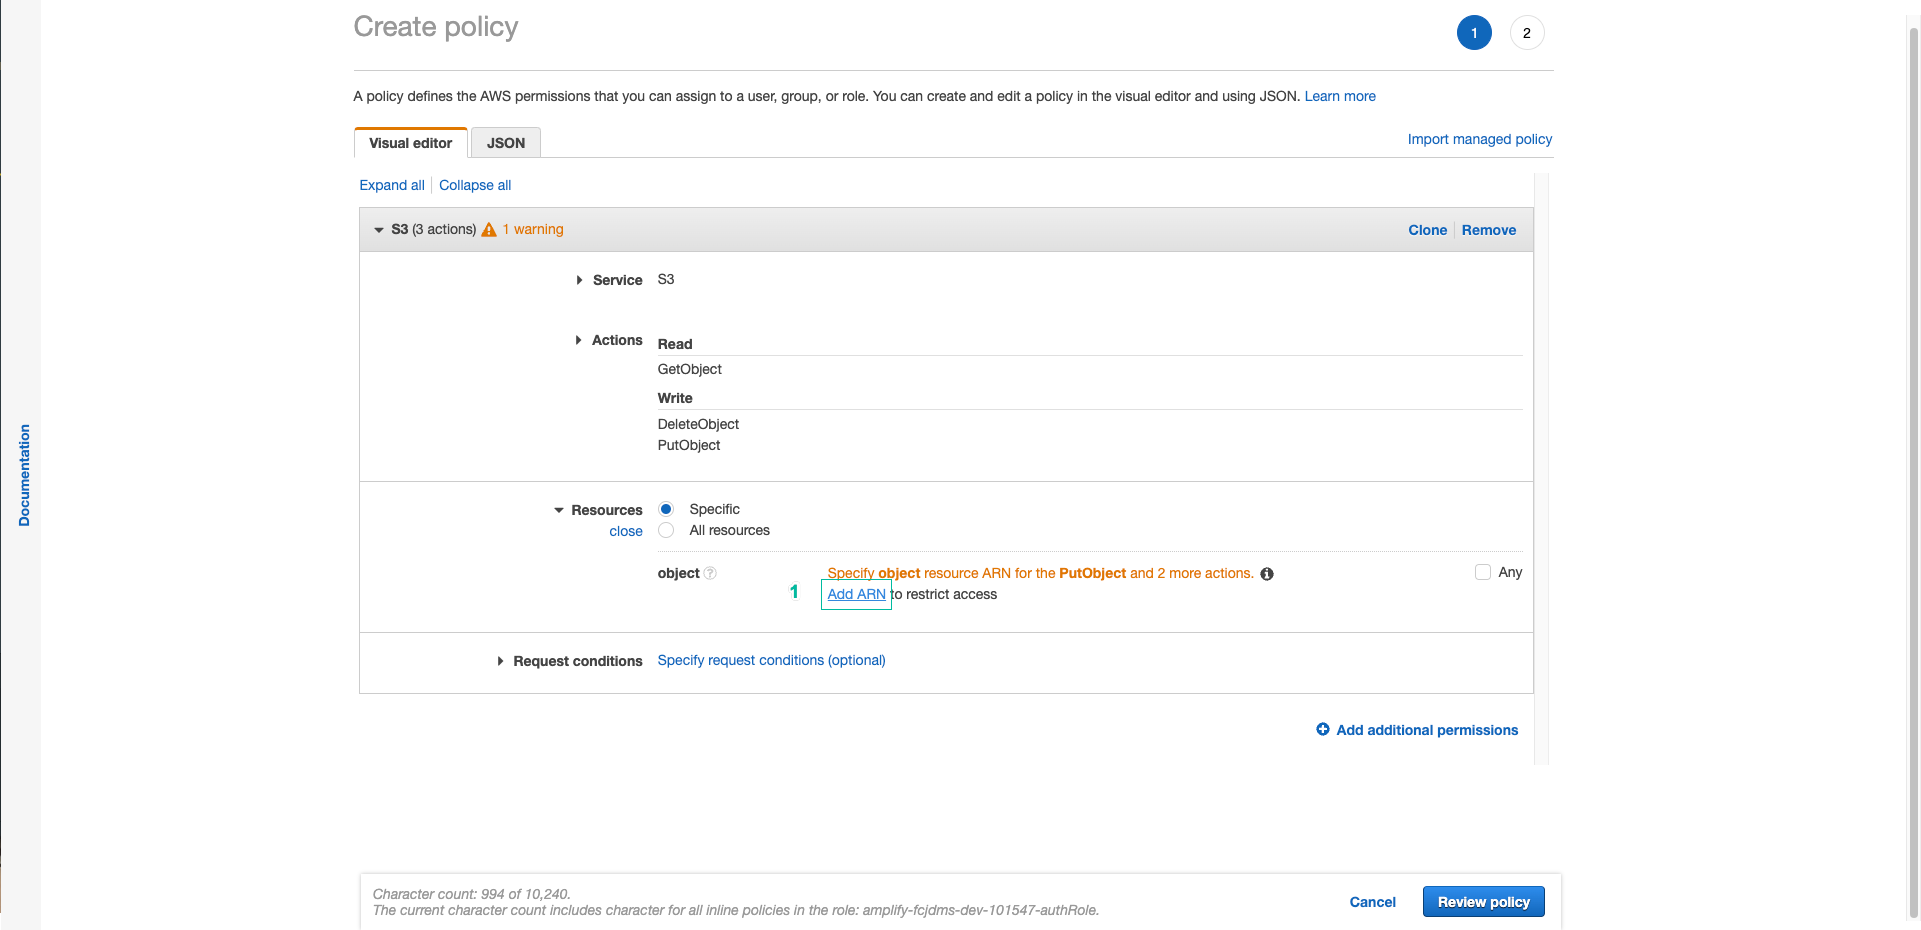
- Click List ARNs manually

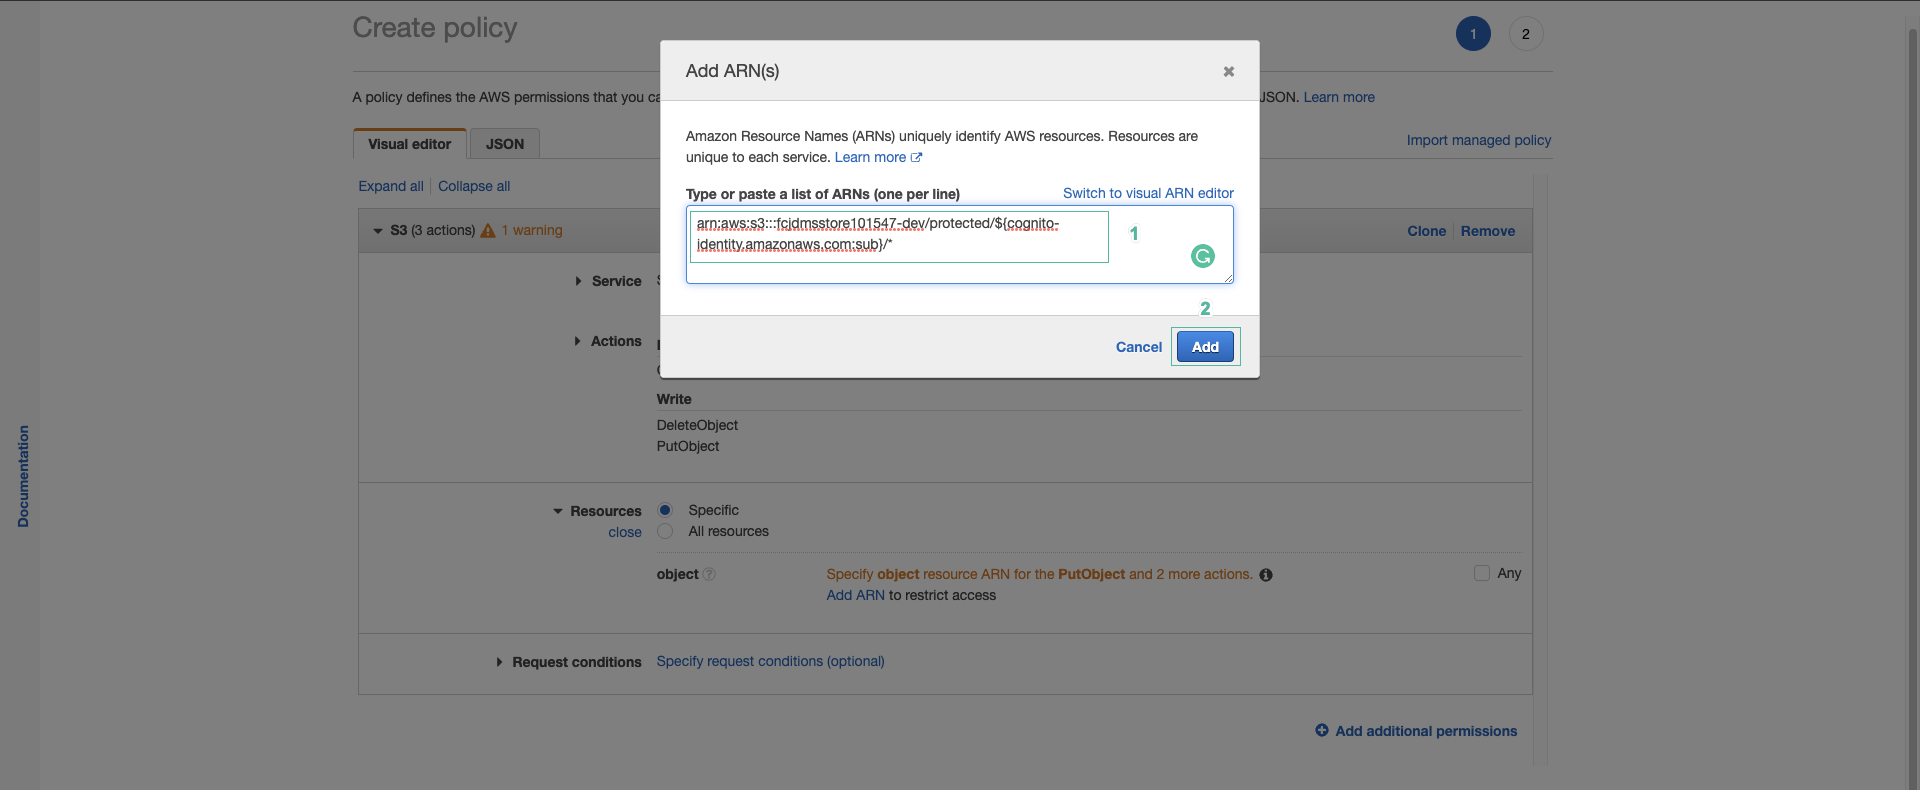
- Enter ARN:
arn:aws:s3:::fcjdmsstore101547-dev/protected/${cognito-identity.amazonaws.com:sub}/*
- Click Add
- Click Review policy
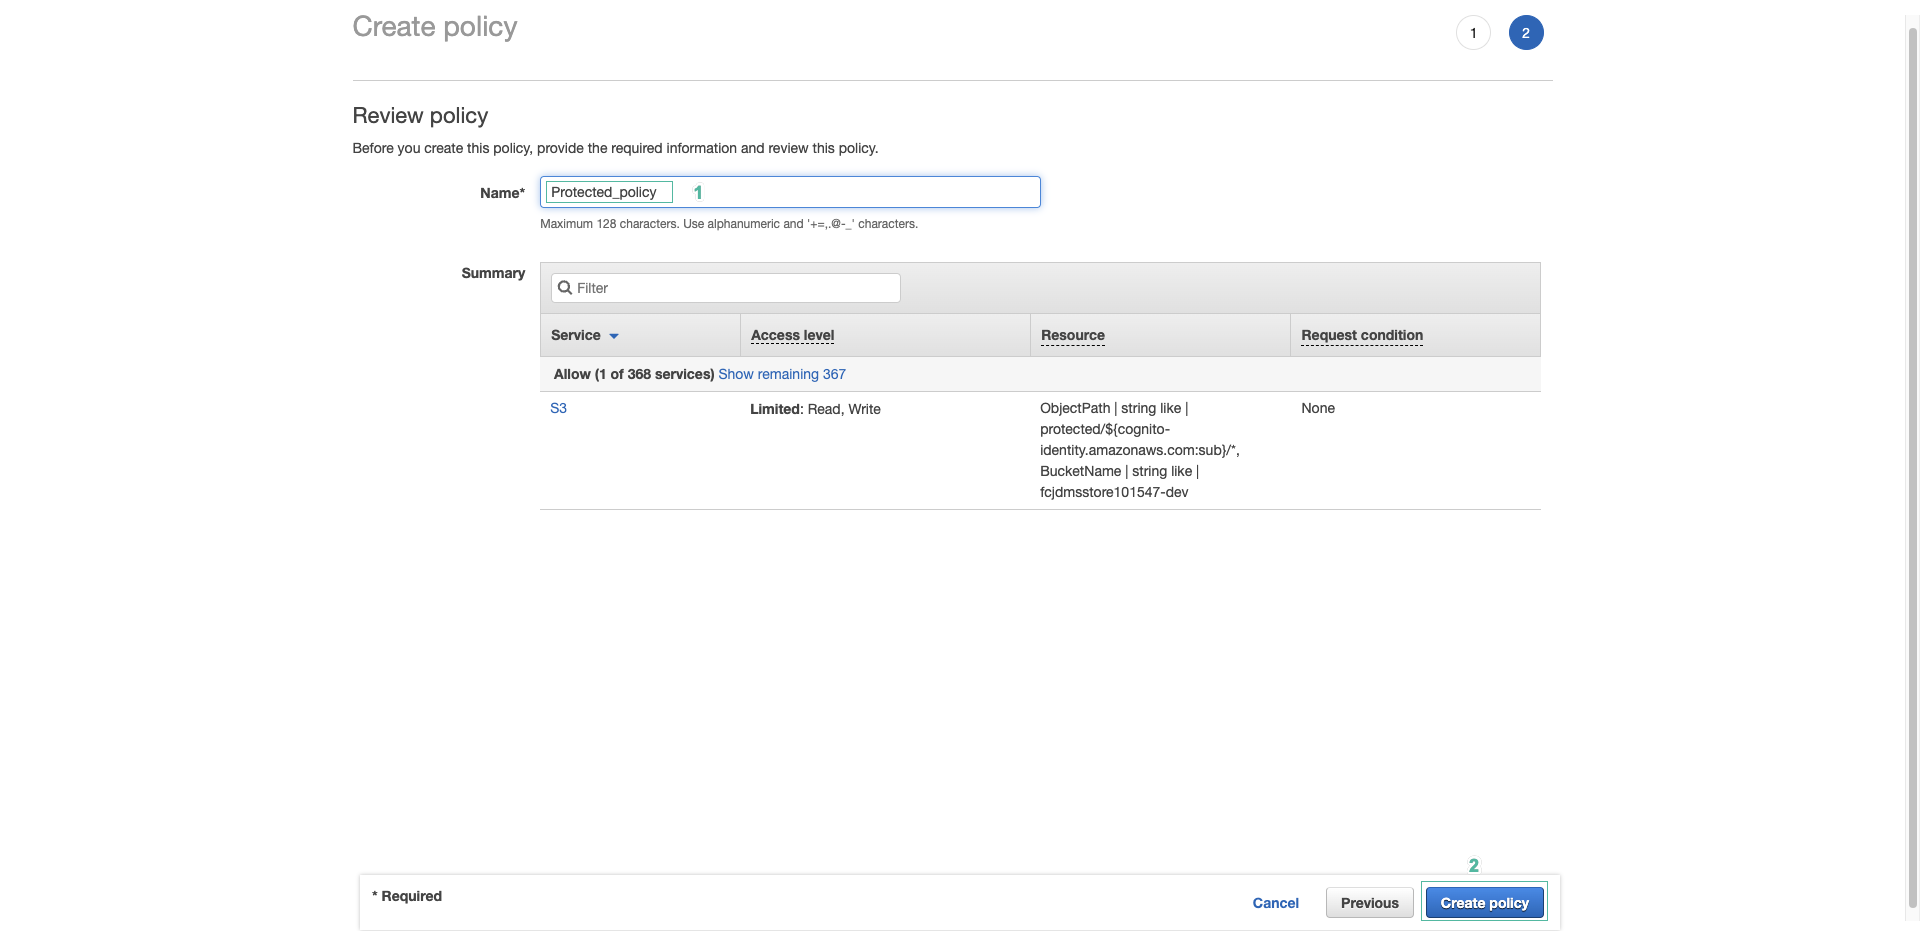
- Enter policy name:
Protected_policy. Then click Create policy
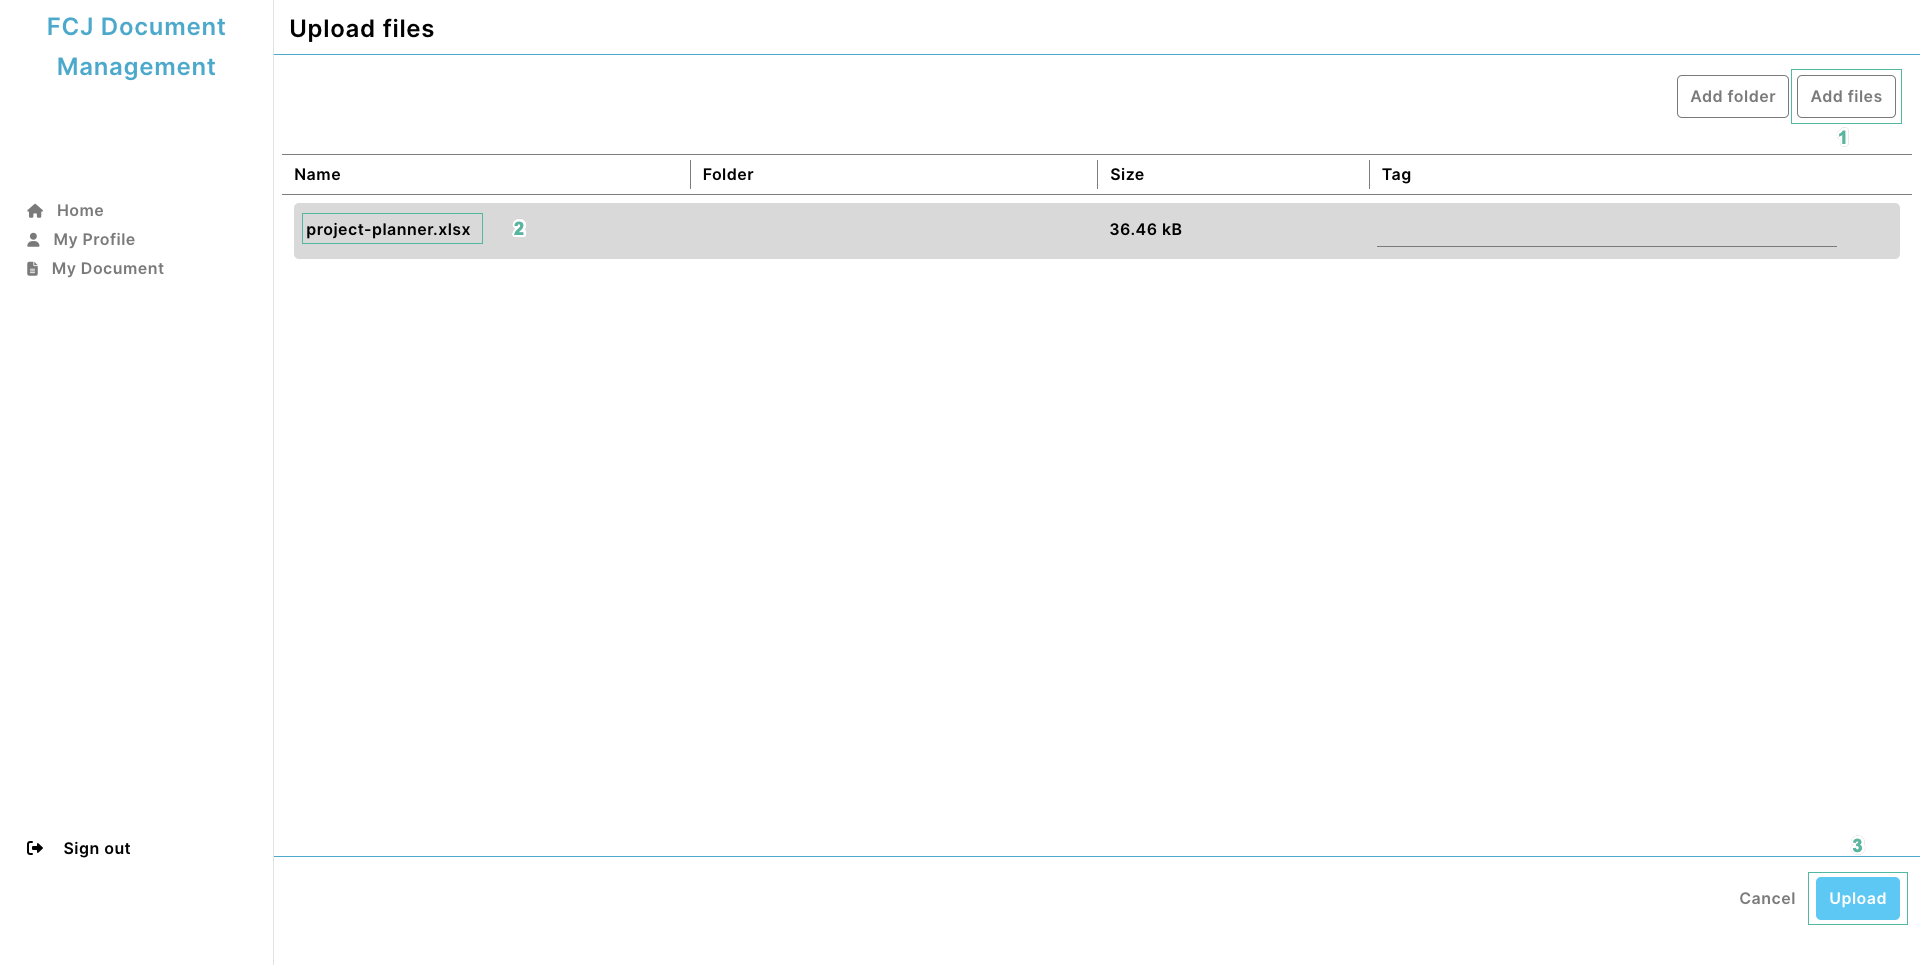
- Go back to the web app, reload the file you just failed
- Click Add files, select the file you want to download
- Click Upload
- Open the console of the S3 bucket to see if the file has loaded successfully.

We’ve learned about protected access levels. If you want to add permissions for other level or edit any permissions, you can do the same.