Storage with Amplify
After you have successfully created an account with Cognito User Pool, we will use that account to upload files to S3 bucket with Amplify in this section.
-
Press the combination Ctrl+C in terminal or command line
-
Run the below command at the root of the application you cloned to add storage to the application:
amplify add storage
-
Select and enter follow the below informations:
? Please select from one of the below mentioned services: Content (Images, audio, video, etc.)
Provide a friendly name for your resource that will be used to label this cateogry in the project:fcjdmsstore
Provide bucket name:fcjdmsstore
Who should have access: Auth users only
What kind of access do you want for Authenticated user? Ấn tổ hợp Ctrl + A
Do you want to add a Lambda Trigger for your S3 Bucket?no

- Run the following command to update cloud resources:
amplify push

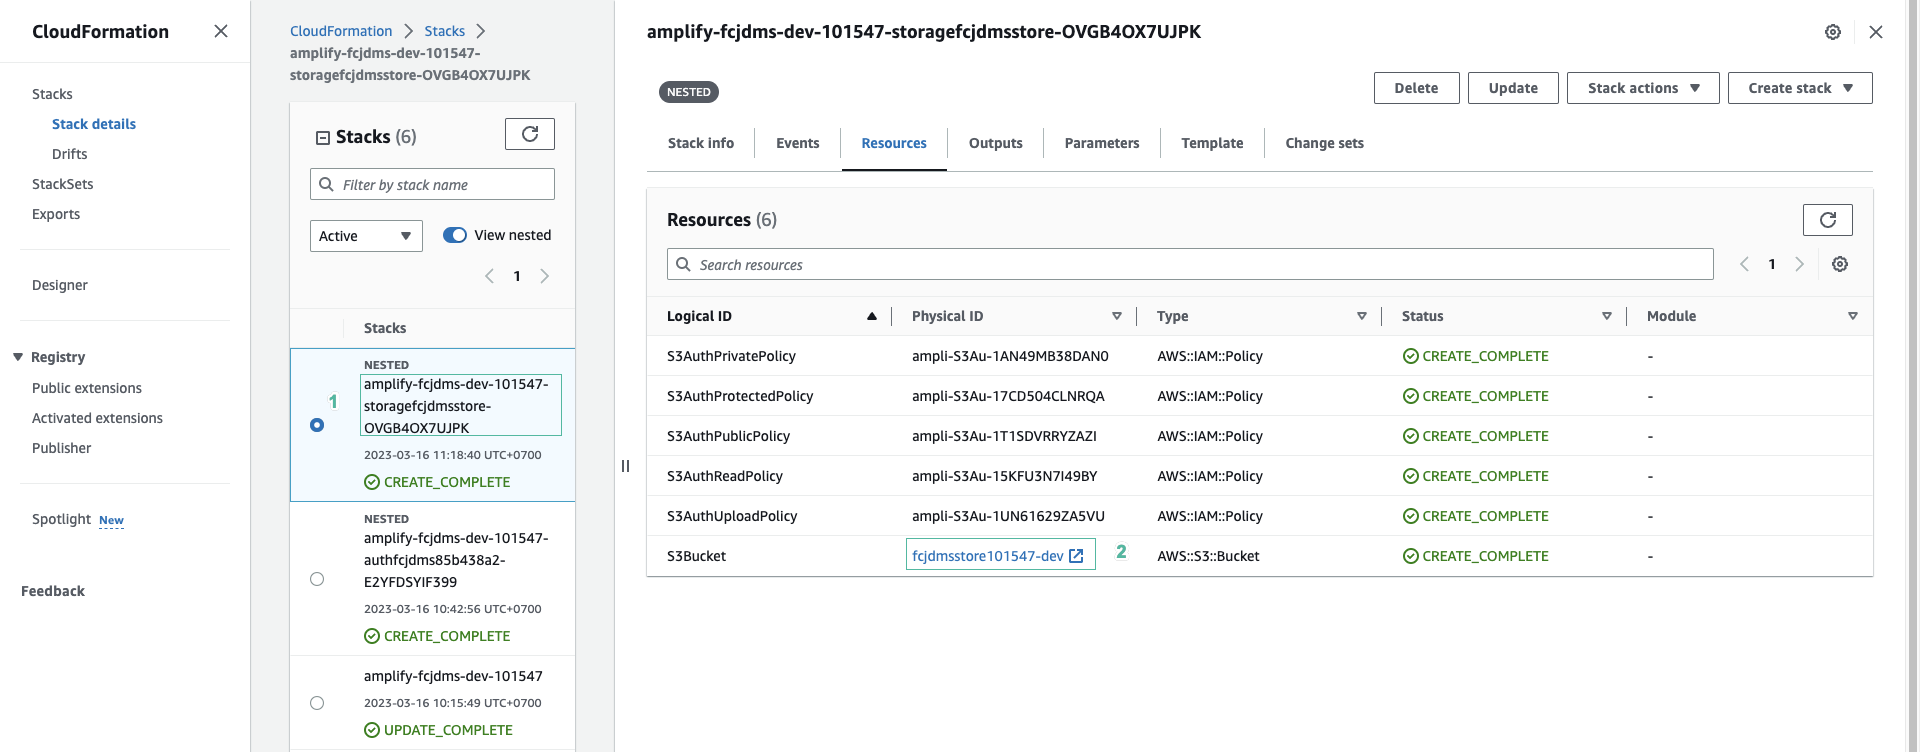
- Navigate to the CloudFormation console to check if the stack has been created.
- Click on a bucket’s name to open the S3 bucket’s dashboard
- Run the following command to start the application:
npm start
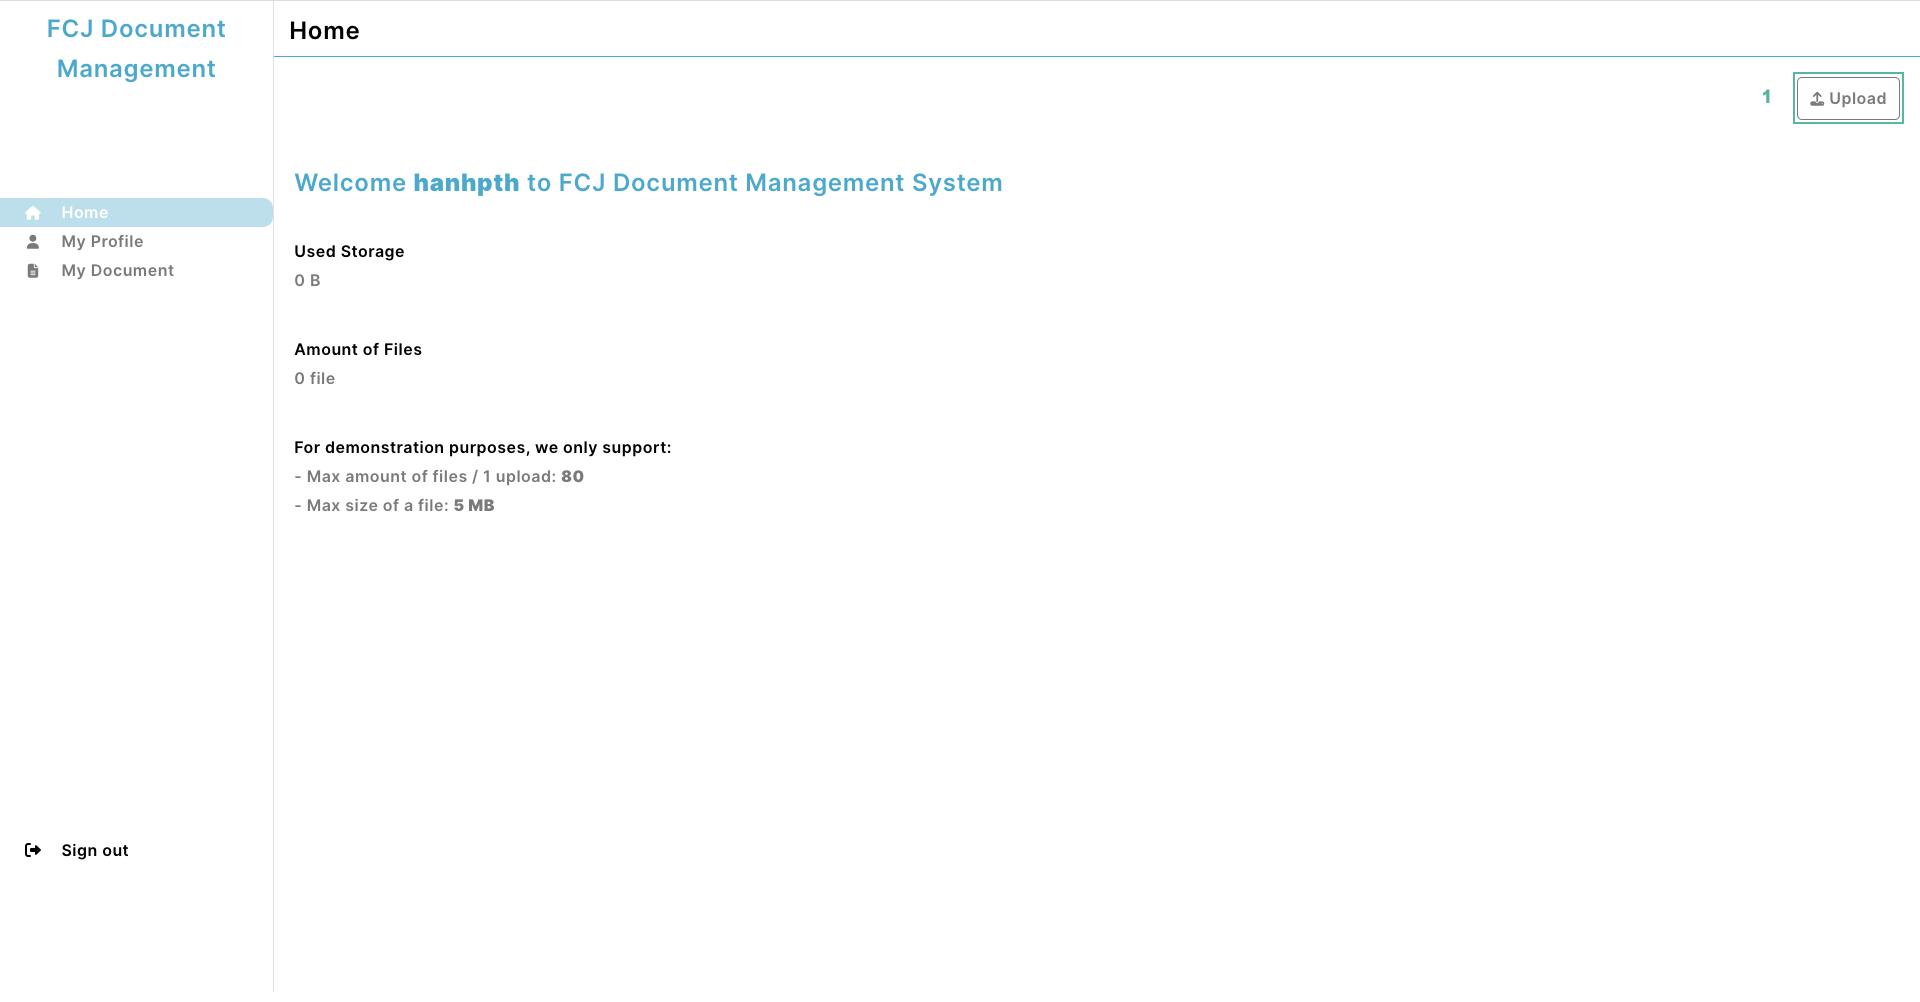
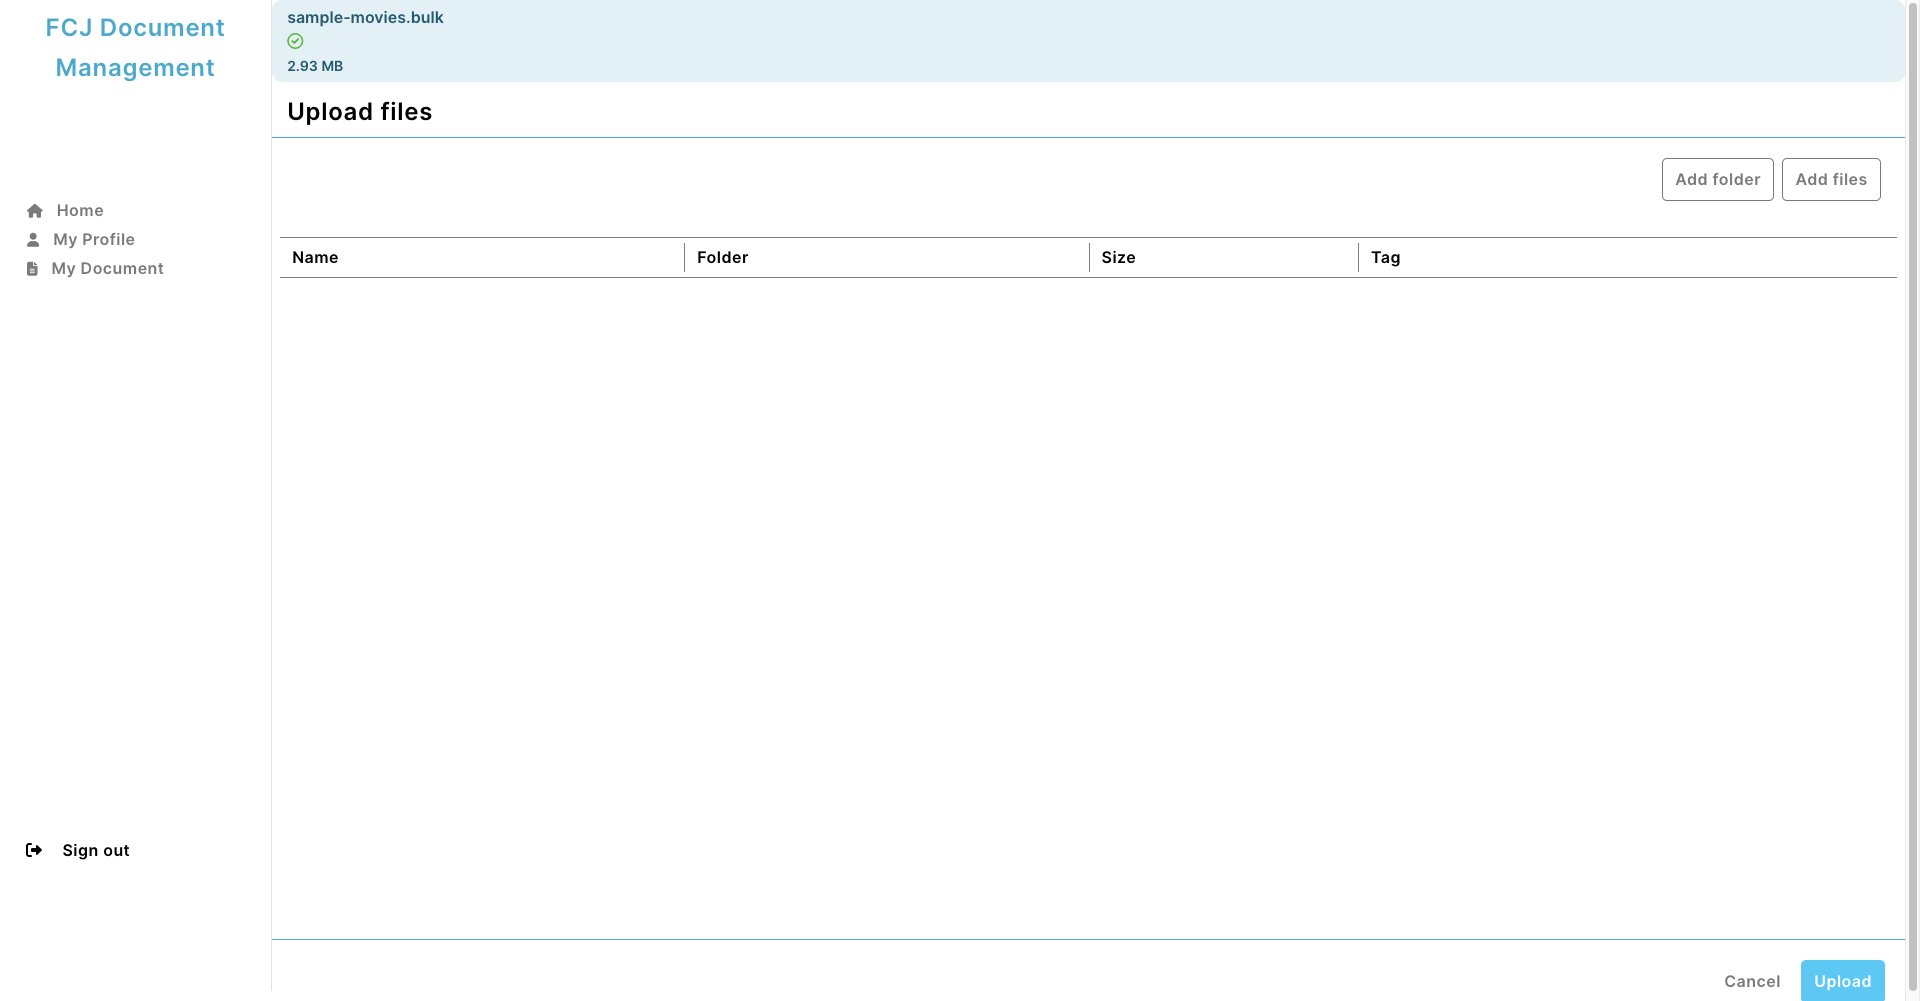
- Click Upload
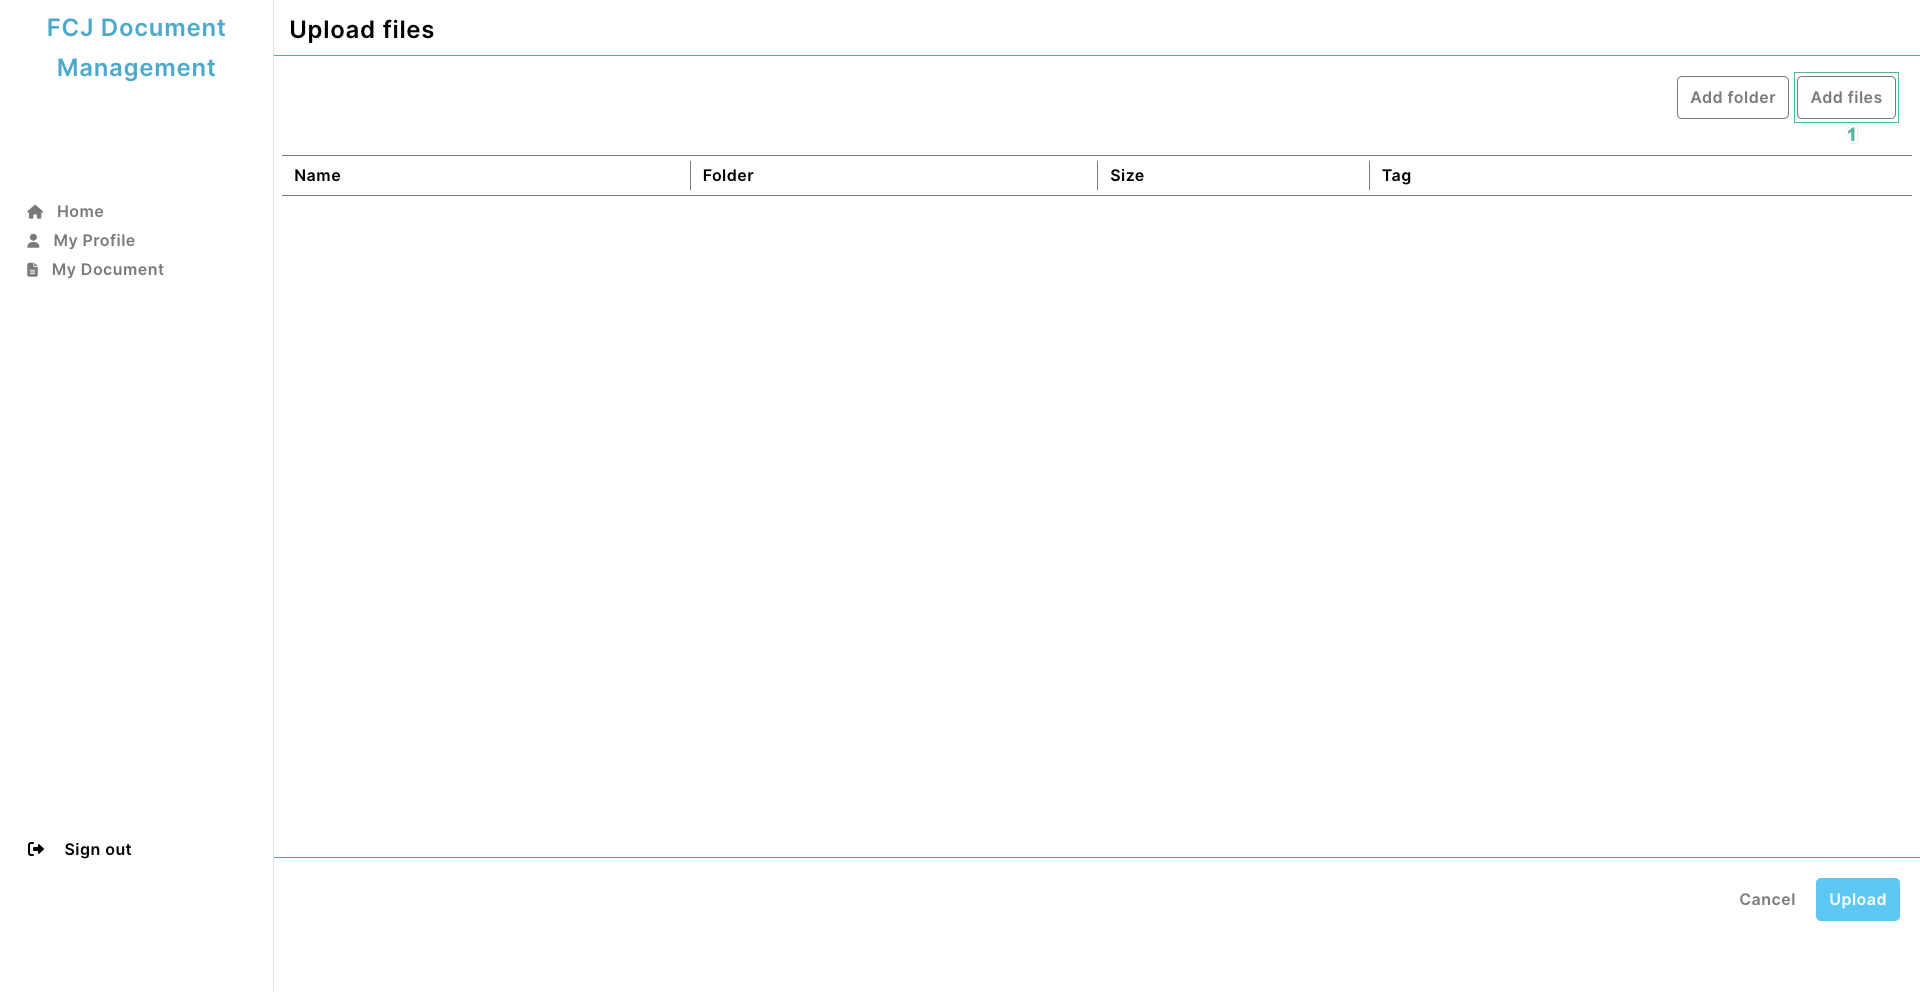
- Click Add files and select the files you want to upload
- Add tags to files or can be omitted. Then press Upload
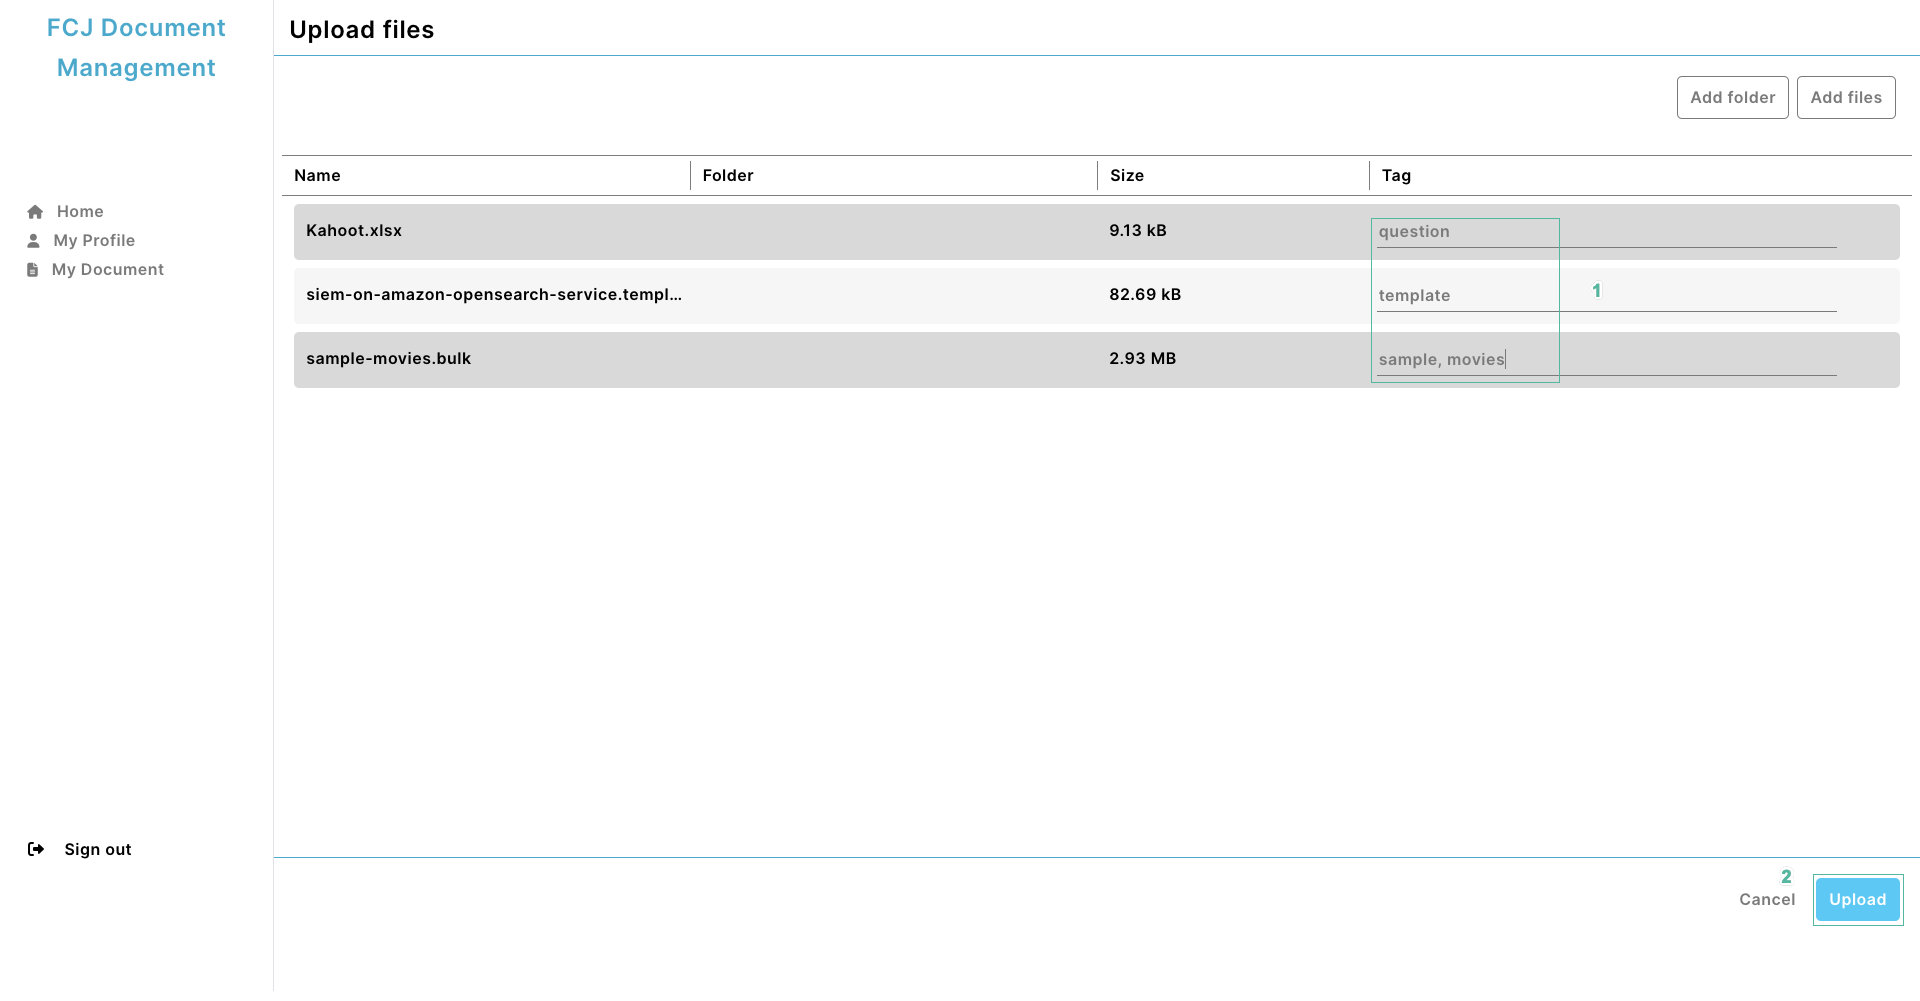
- You have successfully uploaded your files
- Back to the S3 bucket dashboard, check if the files have been uploaded.
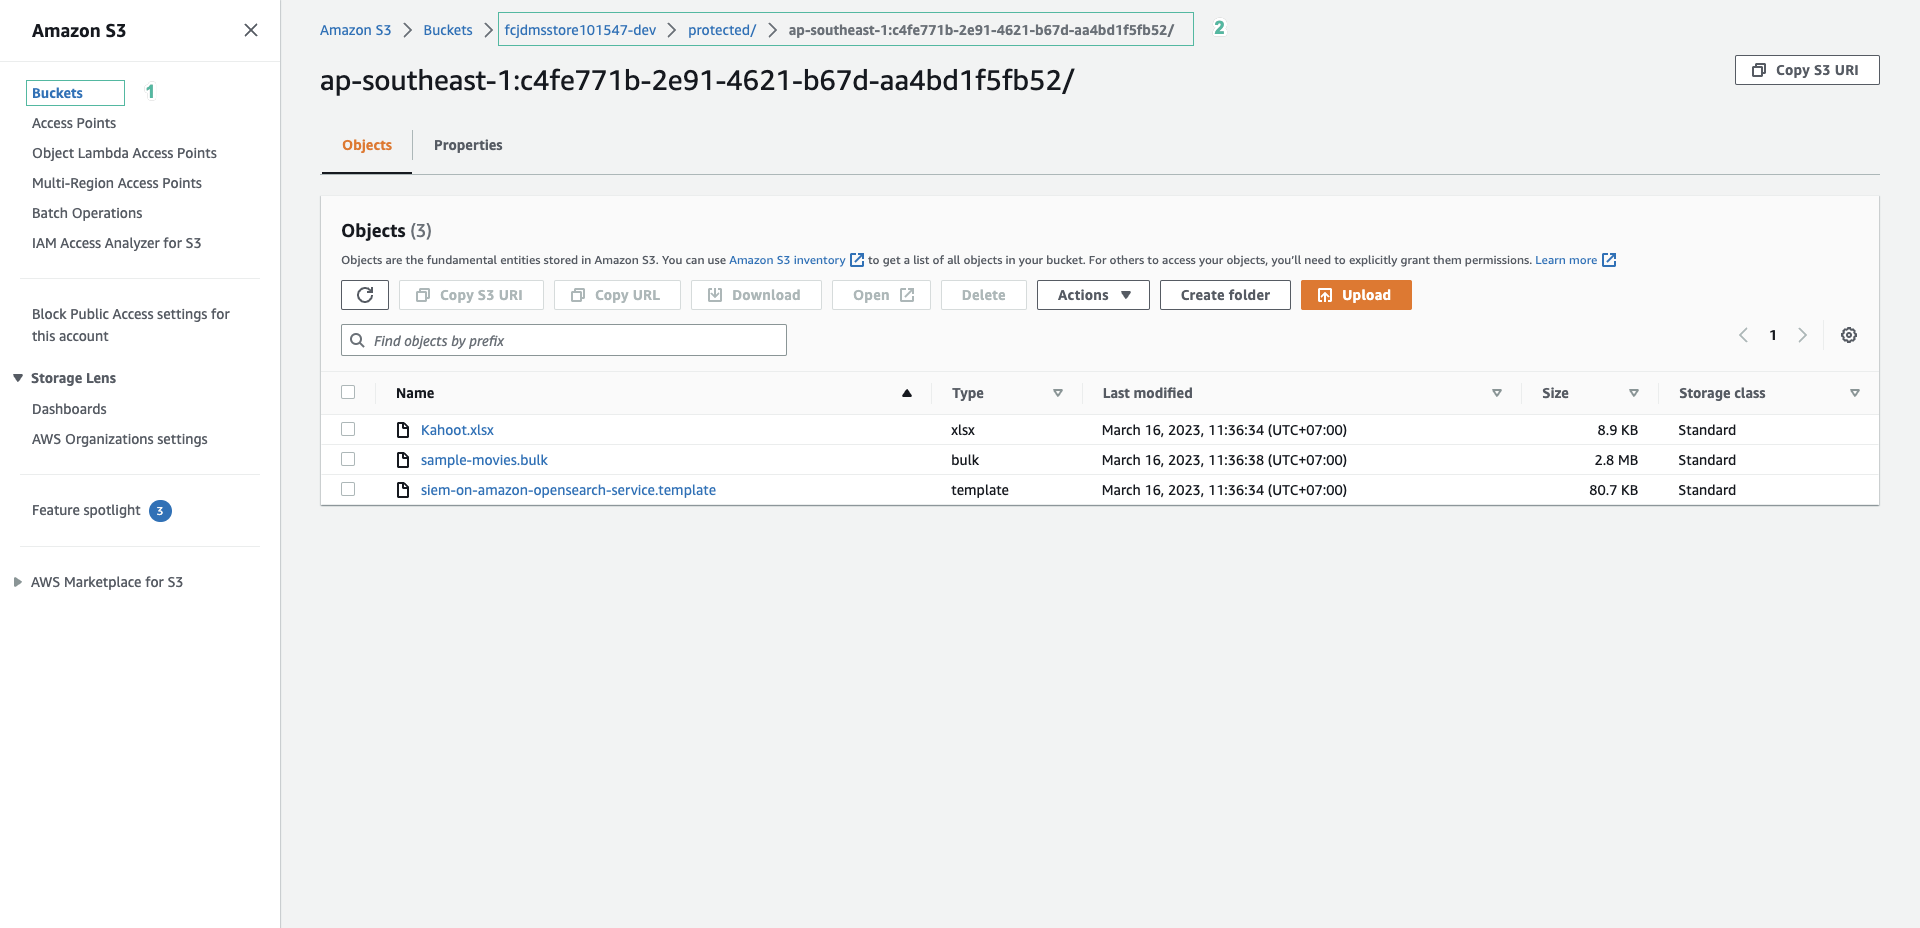
You are done with user authentication and file upload to S3 with Amplify. The S3 bucket has created a protected folder because our application chooses Access Level as protected. To learn more about Access Level, go to the next section.