Chuẩn Bị
Chúng ta thực hiện các bước dưới đây để chuẩn bị cho việc xác thực và lưu tệp với thư viện Amplify trong phần sau:
- Cài đặt Amplify CLI, chạy câu lệnh dưới đây:
npm install -g @aws-amplify/cli
Bạn phải cài đặt NodeJs trước khi cài đặt Amplify CLI
Bạn nên tạo một user và cấu hình một AWS profile với thông tin xác thực trên máy của bạn.
- Chạy các câu lệnh dưới đây để clone ứng dụng về máy của bạn:
git clone https://github.com/AWS-First-Cloud-Journey/FCJ-Serverless-DMS
cd FCJ-Serverless-DMS
npm install
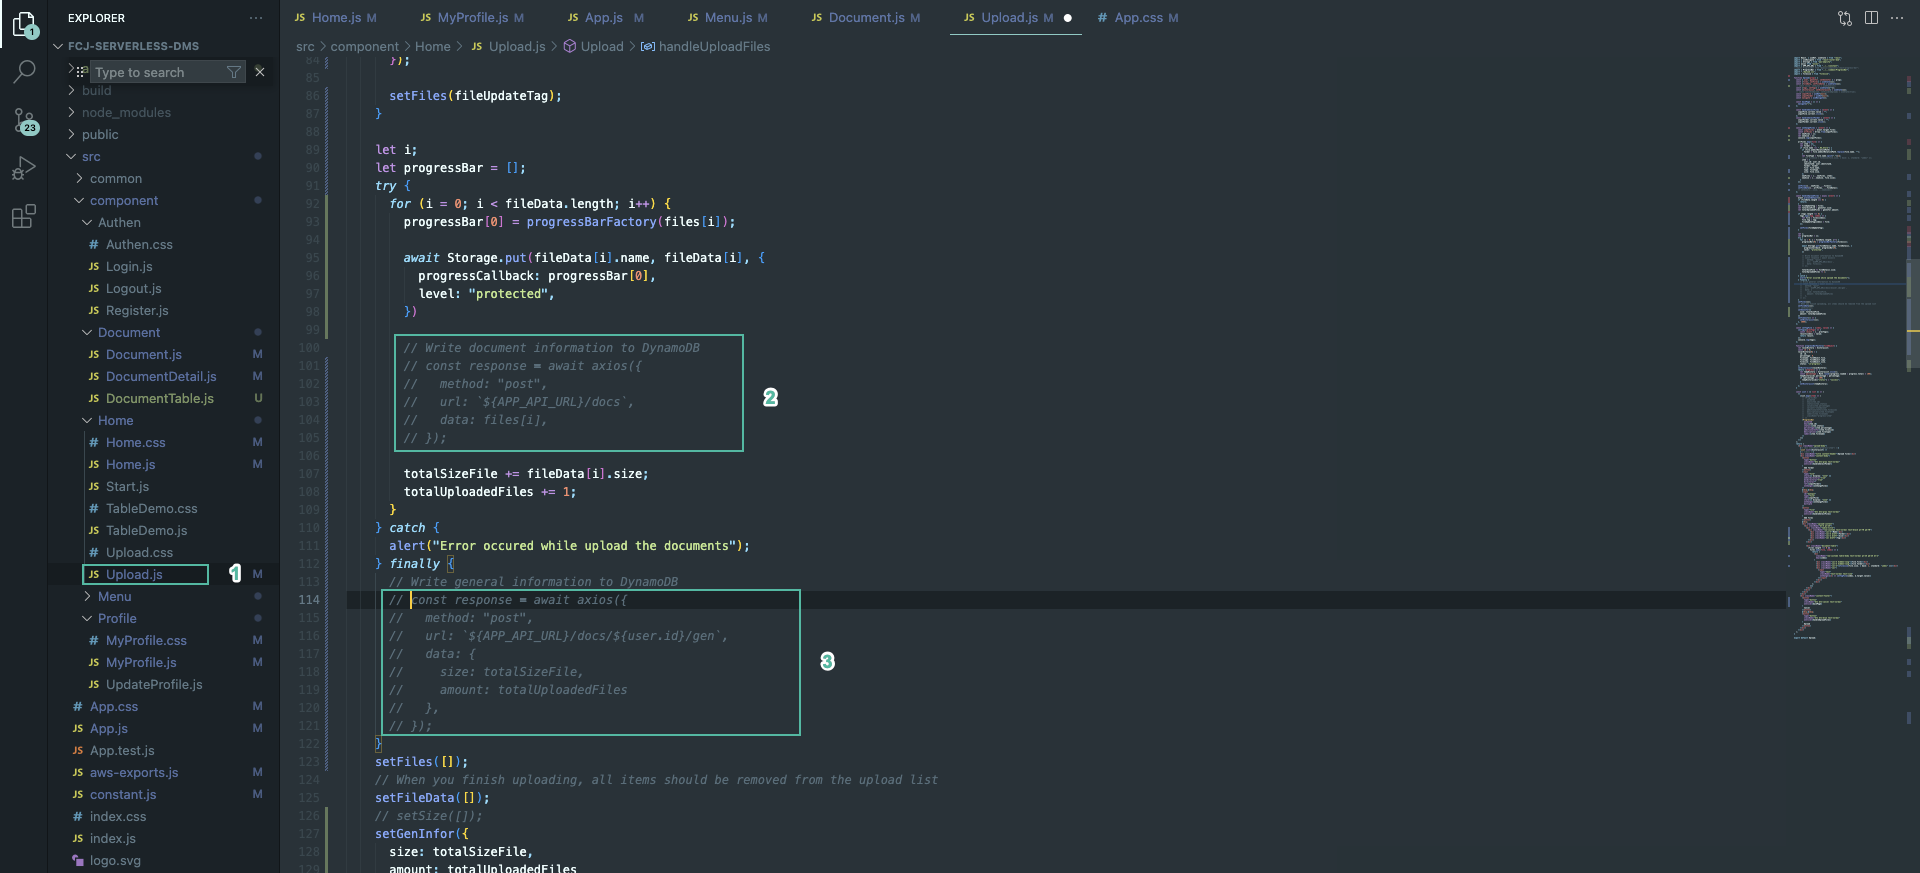
- Mở project và mở tệp src/component/Home/Upload.js. Comment đoạn code gọi API để tương tác với DynamoDB
- Để khởi tạo Amplify cho ứng dụng, bạn chạy câu lệnh dưới đây từ thư mục gốc của ứng dụng:
amplify init
-
Nhập theo các thông tin dưới đây:
? Enter a name for the project
fcjdms
The following configuration will be applied:Project information
| Name: fcjdms
| Environment: dev
| Default editor: Visual Studio Code
| App type: javascript
| Javascript framework: react
| Source Directory Path: src
| Distribution Directory Path: build
| Build Command: npm run-script build
| Start Command: npm run-script start? Initialize the project with the above configuration?
Yes
Using default provider awscloudformation
? Select the authentication method you want to use: AWS profileFor more information on AWS Profiles, see:
https://docs.aws.amazon.com/cli/latest/userguide/cli-configure-profiles.html? Please choose the profile you want to use default
? Help improve Amplify CLI by sharing non sensitive configurations on failures (y/N) ›No

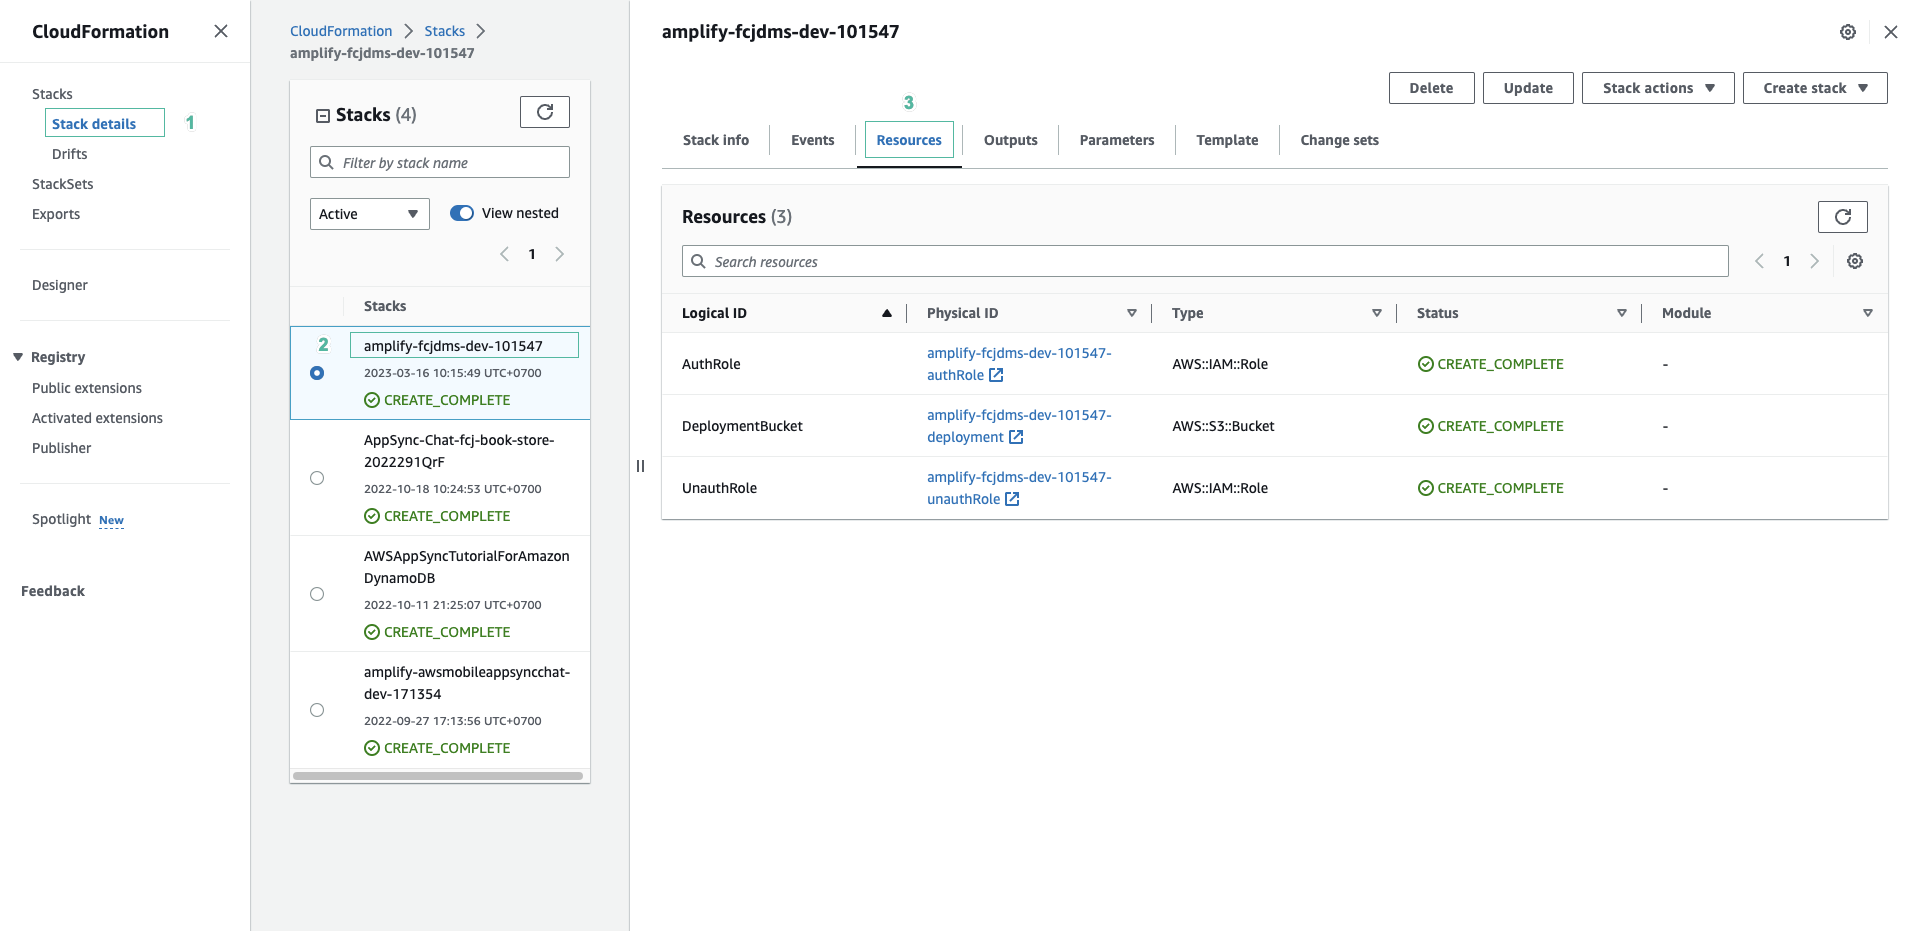
- Mở bảng điều khiển của CloudFormation
- Chọn Stacks ở menu phía bên trái, bạn sẽ thấy stack mới được tạo. Ấn tab Resources bạn sẽ thấy các tài nguyên mà Amplify tạo